Set up your account
Learn how to set up your account to be ready to make your first API call.
To set up your account and be ready to make your first API request, please follow these steps :
Step 1: Create your Yousign account
Step 2: Start the free API trial
In the right panel, go to the API section >> API keys page. Then start your API trial period.
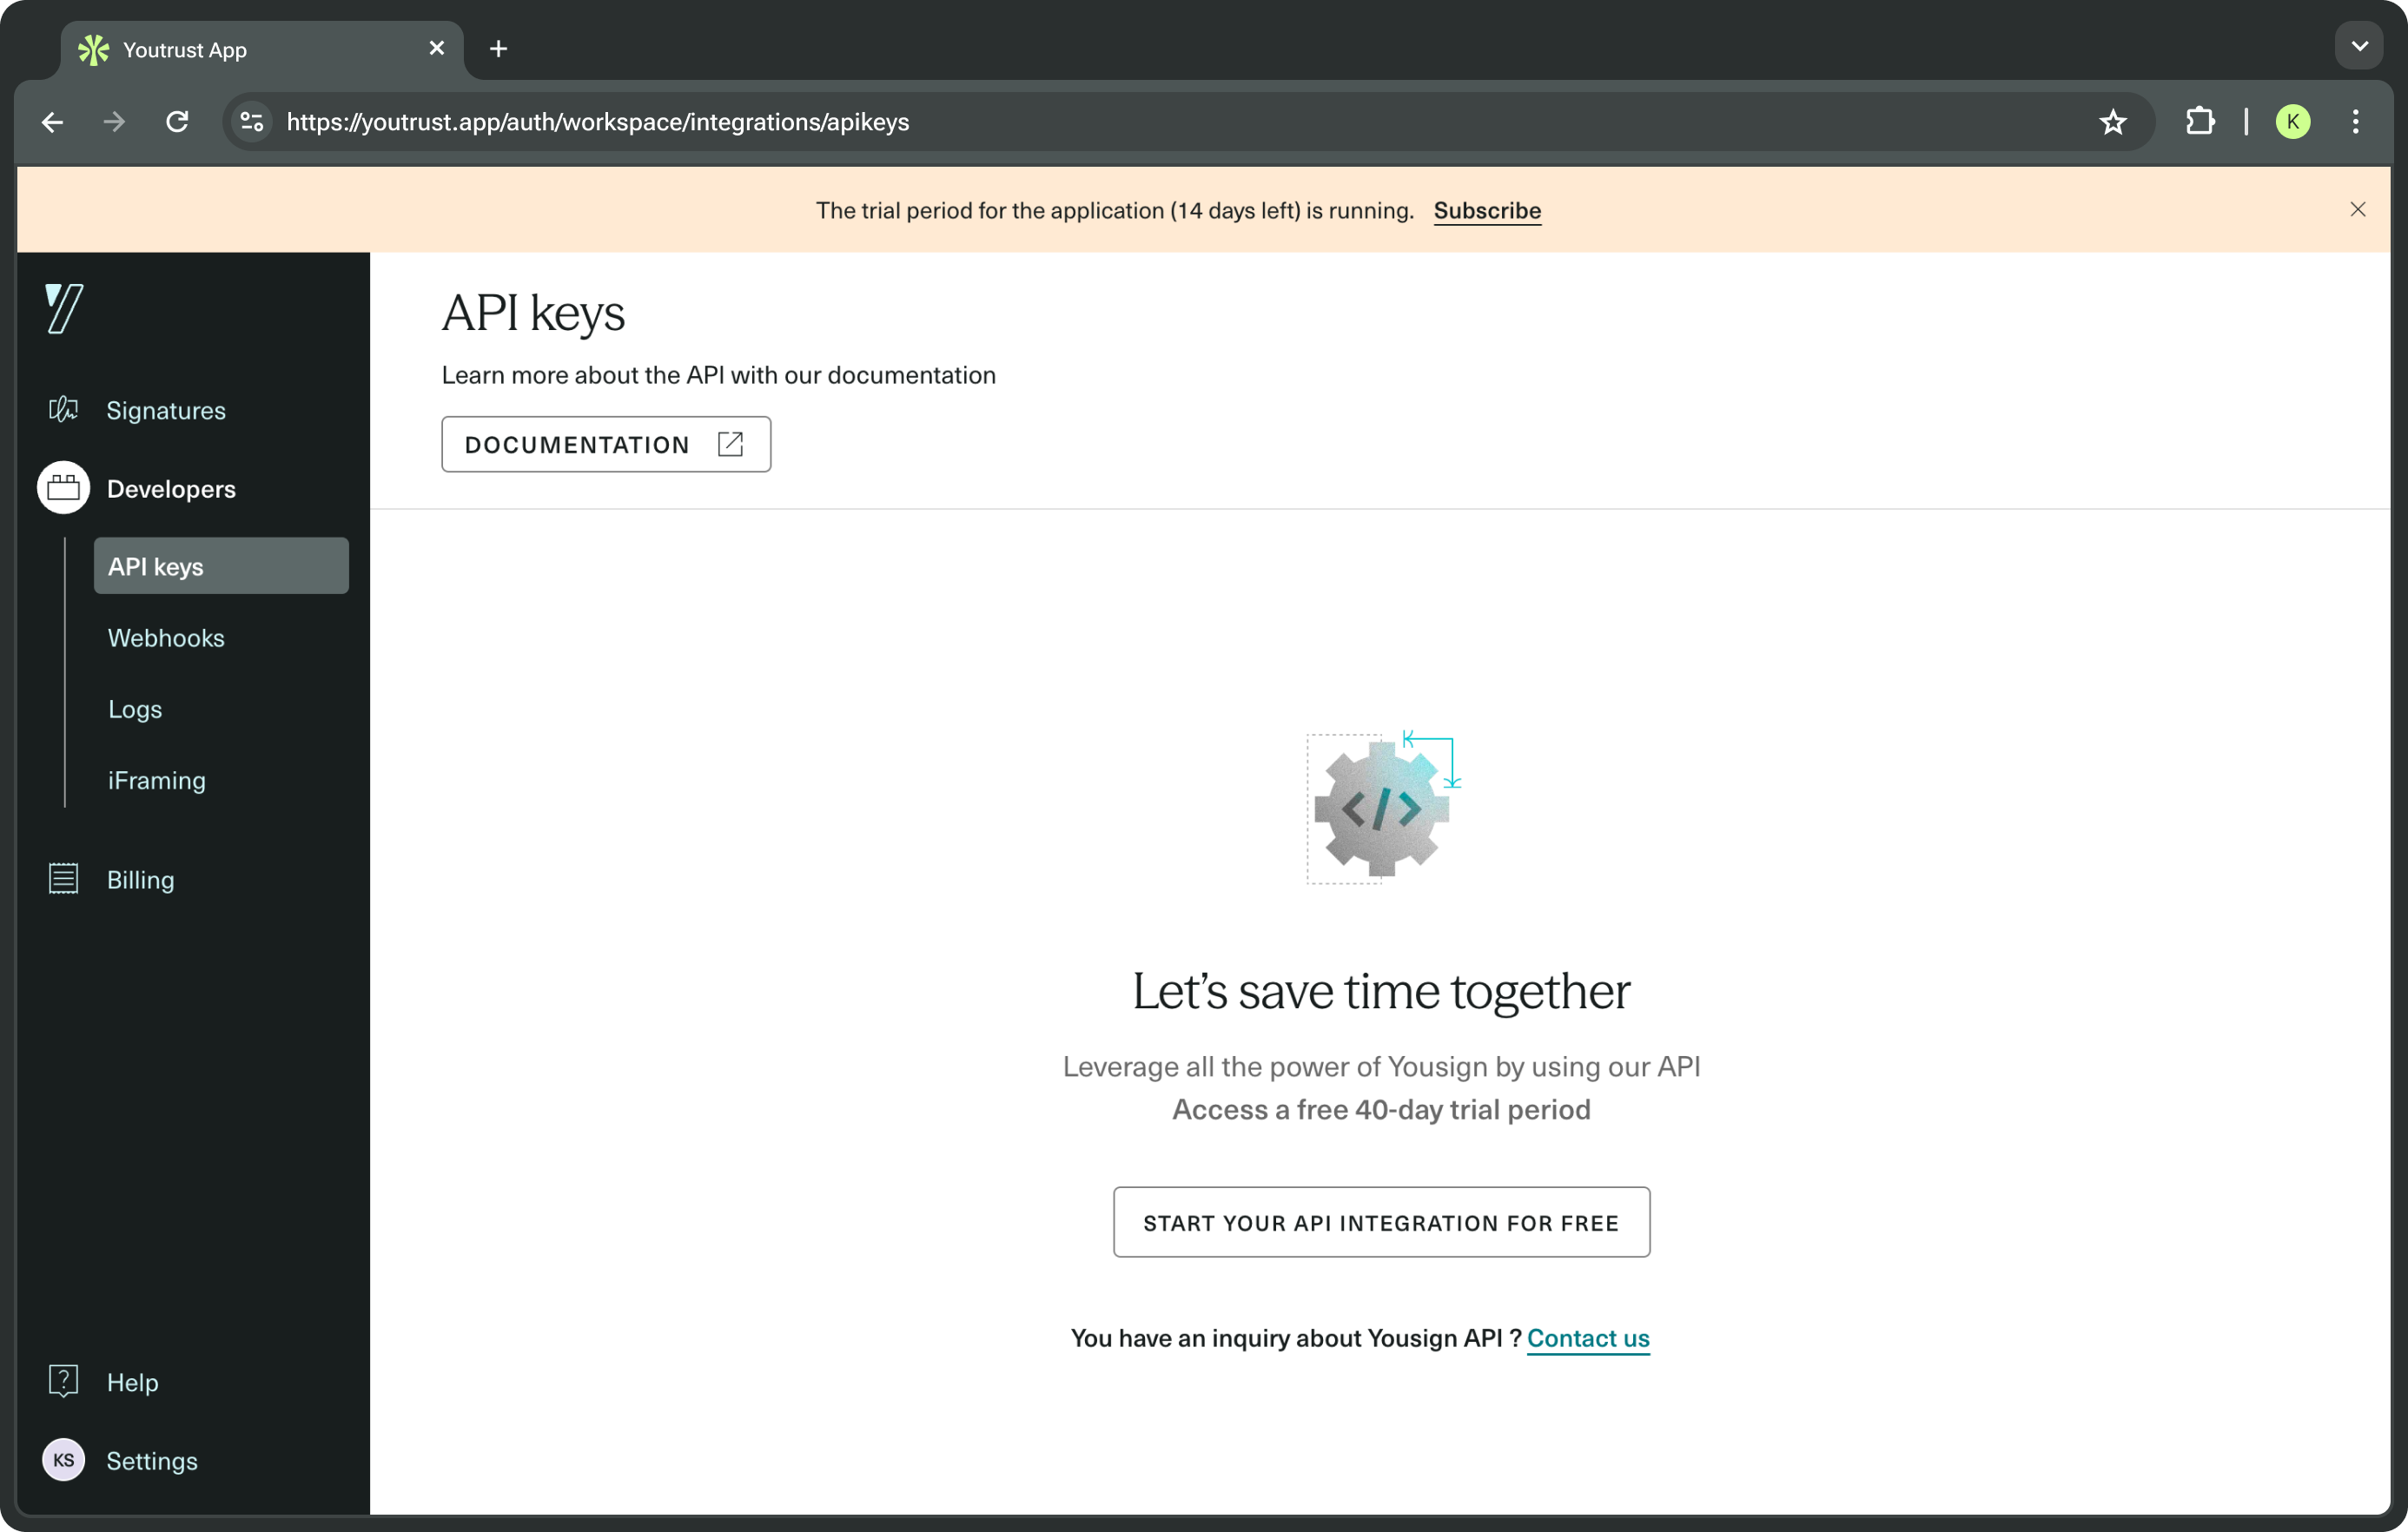
The free API trial
The free API trial provides 40-day access to a Yousign’s application and a dedicated sandbox environment (the production environment is not available at this point), allowing you to test and integrate Yousign’s API without impacting a live production system. This environment is isolated, designed specifically for development and testing purposes, and supports most core functionalities of the API. Lear more about environments here.
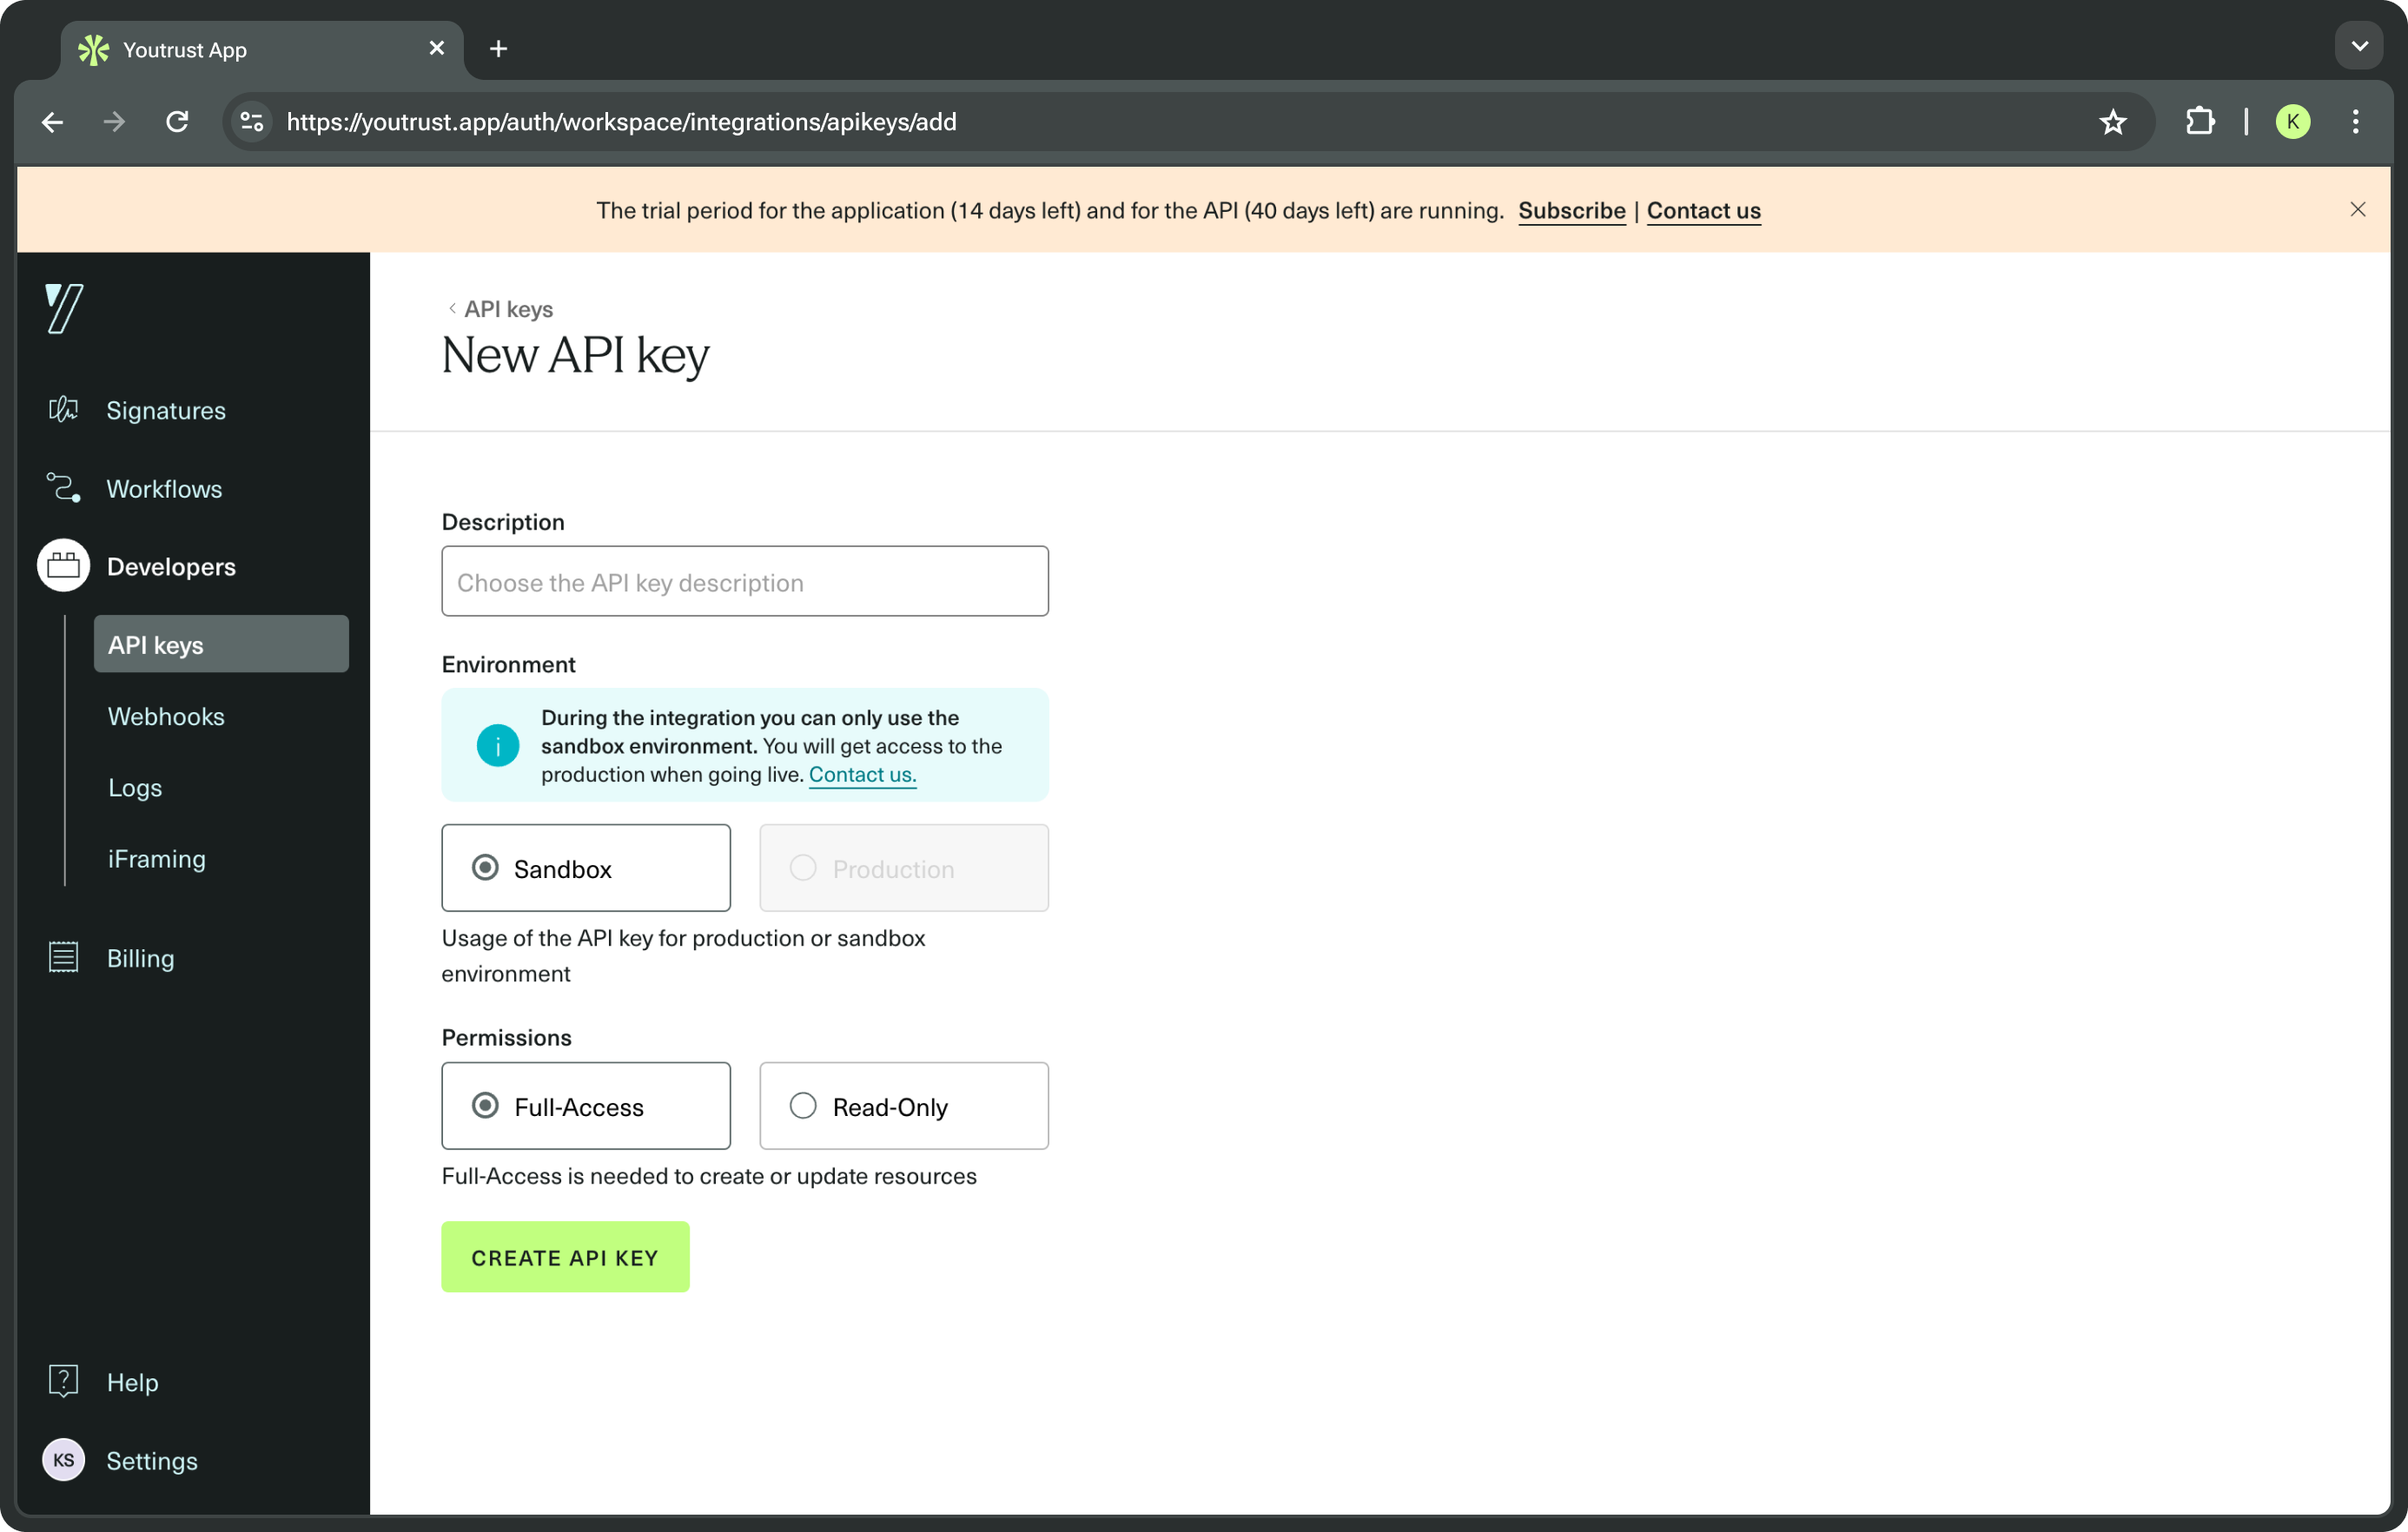
Step 3: Create an API key
- Add a description.
- Select the environment (
Sandbox). You will be limited to the Sandbox environment during the API trial period. - Select a scope:
organization→ access data across the entire organization. Recommended for a first test.workspace→ access data scoped to authorised workspaces only. Only possible after you created your first API key.
- Select Permissions:
Read-Only→ the API key can only read existing resources.Full-Access→ the API key can read, create, update and delete resources.
| Permissions | Description |
|---|---|
| Full-Access | If you want to create resources (Signature Request, Documents, etc) you need to use a full-access API key. |
| Read-Only | If you only want to read existing resources you can use a read-only API key. |
The API key serves as a unique identifier to authenticate your requests and grant access to the Yousign API, it must be included in each API request.
Only users with an Admin or Owner role can create API keys.
To learn more about how Yousign API keys work, see API keys.
Step 4: Choose the right base URL
The base URL is the entry point for all API requests. It specifies the environment being accessed: sandbox for testing or production for live operations.
| Environment | Base URL |
|---|---|
| Sandbox | https://api-sandbox.yousign.app/v3 |
| Production | https://api.yousign.app/v3 |
During the 40-day free API trial, you'll only have access to the Sandbox environment and base URL. The production environment becomes available once you've subscribed to a paid plan..
Step 5: Make your first API request
With the API key and base URL configured, the first API request can be made. The example below retrieves a list of Signature Requests (see List Signature Requests endpoint):
curl --location --request GET '{baseUrl}/signature_requests' \
--header 'Authorization: Bearer {apiKey}'
"meta": {
"next_cursor": "MTcyNTg3ODcyOC40OTY0NTIgZDNmMmIwZmQtZjIzYS00MWZmLWFlY2UtODU1ZjYyZTkyZDgw"
},
"data": [
{
"approvers": [],
"labels": [],
"id": "2a6f9f6a-18a4-4e14-8bee-b734369f3cf6",
"source": "app",
"status": "draft",
"name": "My signature request",
"created_at": "2025-01-09T09:37:45+00:00",
"email_custom_note": null,
"ordered_signers": false,
"timezone": "Europe/Paris",
"reminder_settings": {
"interval_in_days": 1,
"max_occurrences": 9
},
"expiration_date": "2025-03-13T22:59:59+00:00",
"delivery_mode": "email",
"documents": [
{
"id": "a64742c7-3c2f-434a-86b2-9a6881106d6f",
"nature": "signable_document"
}
],
"signers": [
{
"id": "2e964215-fe7b-4933-9892-6879170c6068",
"status": "initiated",
"delivery_mode": null
}
],
"external_id": null,
"branding_id": "2ad32d78-09b0-43bb-8735-d8fa9e02e248",
"custom_experience_id": "2ad32d78-09b0-43bb-8735-d8fa9e02e248",
"sender": null,
"workspace_id": "814aac47-2e91-477a-bfc2-3f05a9b29824",
"audit_trail_locale": "en",
"signers_allowed_to_decline": true,
"bulk_send_batch_id": null,
"email_notification": {
"sender": {
"type": "organization",
"custom_name": null
},
"custom_note": null
}
},
{
"approvers": [],
"labels": [],
"id": "c4538cd4-b0fc-46e9-bf77-8a38df29b2cc",
"source": "app",
"status": "done",
"name": "My contract",
"created_at": "2025-01-06T15:36:33+00:00",
"email_custom_note": null,
"ordered_signers": false,
"timezone": "Europe/Paris",
"reminder_settings": {
"interval_in_days": 1,
"max_occurrences": 9
},
"expiration_date": "2025-03-12T22:59:59+00:00",
"delivery_mode": "email",
"documents": [
{
"id": "c13a72c5-7965-4f22-86b6-b1c48e892fc8",
"nature": "signable_document"
}
],
"signers": [
{
"id": "1a176304-5f78-4134-8d14-eb1552fa1053",
"status": "signed",
"delivery_mode": null
}
],
"external_id": null,
"branding_id": "1a1eec62-137f-4c92-a386-e5a18a2fec7e",
"custom_experience_id": "1a1eec62-137f-4c92-a386-e5a18a2fec7e",
"sender": {
"id": "da21b0a8-fa67-4c08-819f-0ff1c47e62c7",
"email": "[email protected]"
},
"workspace_id": "814aac47-2e91-477a-bfc2-3f05a9b29824",
"audit_trail_locale": "en",
"signers_allowed_to_decline": true,
"bulk_send_batch_id": null,
"email_notification": {
"sender": {
"type": "user",
"custom_name": null
},
"custom_note": null
}
}
]
}{baseUrl}: Replace with the appropriate base URL from Step 4.{apiKey}: Replace with the API key from Step 3.
Use our Postman collection to easily test, explore, and integrate with the Yousign API.
Get started with Postman here.