Connect Yousign and Zapier
Increase your efficiency and automate your eSignature tasks without delay, we're here to guide you.
How do I set up Zapier with Yousign?
In this section we'll look at how to connect Yousign to your various tools via Zapier. As you'll see, it couldn't be simpler - everything happens directly from Zapier.
📋 Here are the steps to follow:
Access to ZapierIt is important to note that access to Zapier requires a Yousign account as well as an App or API plan from the Plus plan.
Good news, this is available also during your 14-day free trial!
However, if you have a lower plan or if your trial period has expired, you can go to your Subscription page to access the Plus plan (or send us a message).
Step 1. Create your account on Zapier
First and foremost, if you don't already have an account on Zapier, create your account here. If you already have a Zapier account, you can go straight to step 2.
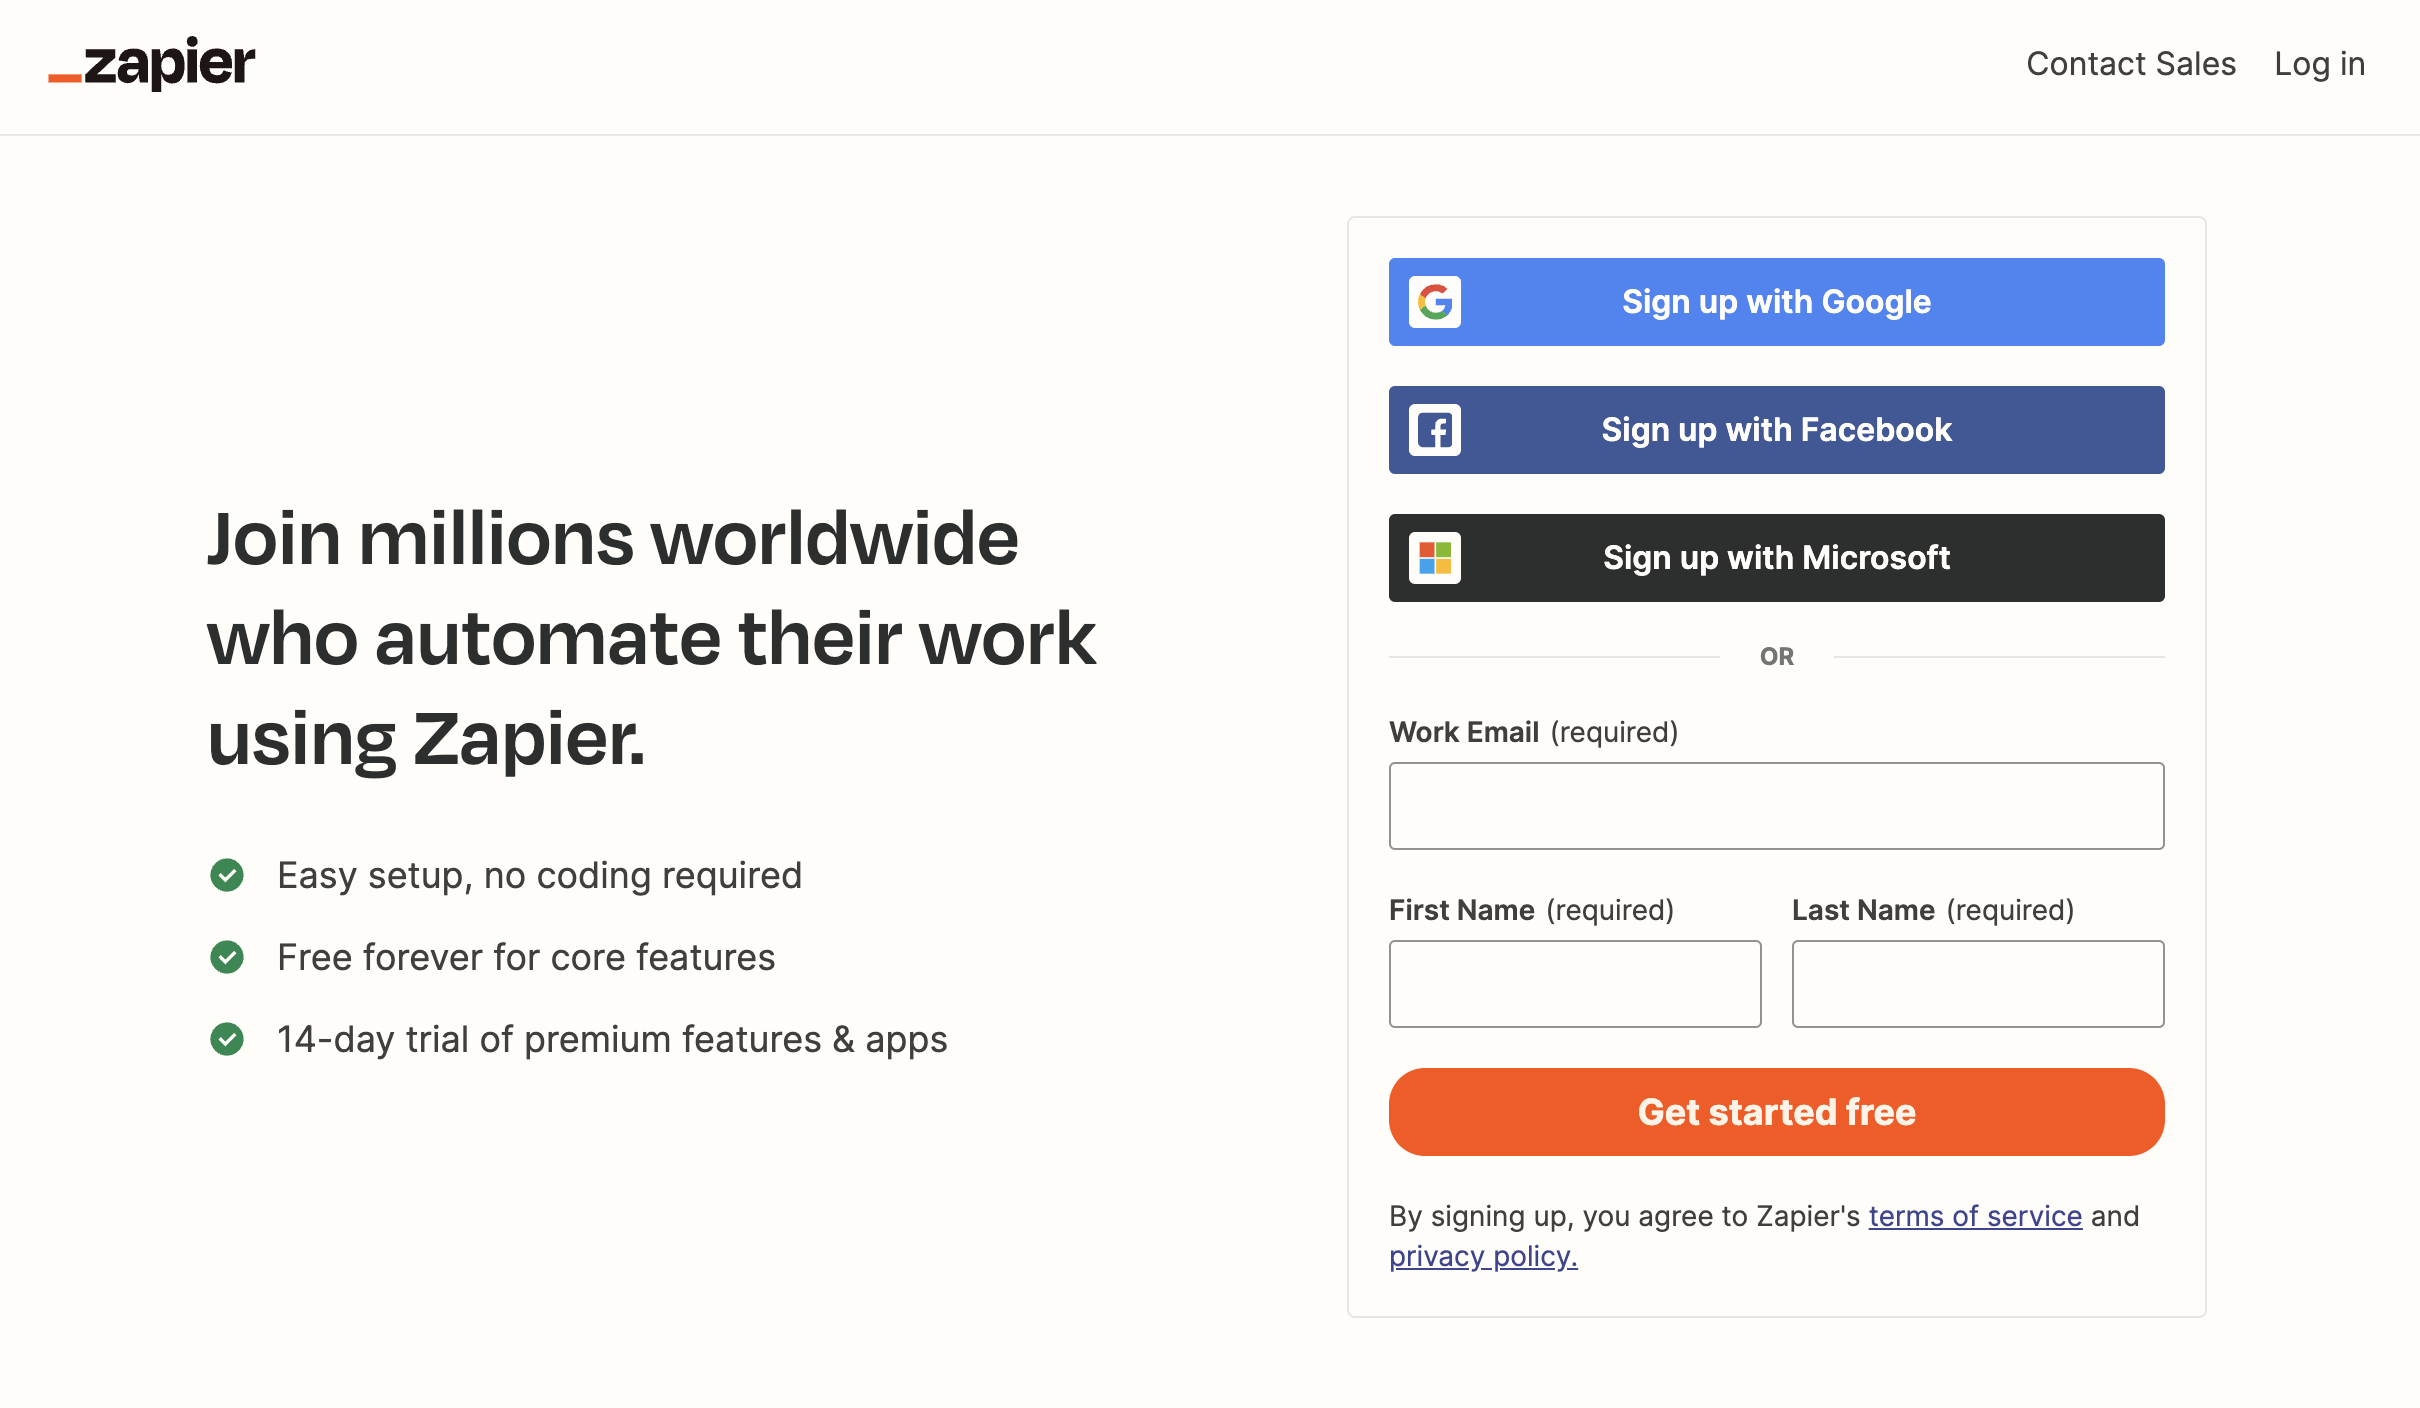
Step 2. Log in on Zapier
Log in with your Zapier account.
Step 3. Create your first automation with a Zap
We'll start with a concrete example of how to connect Yousign to another tool. We're going to look in detail at how to connect to Yousign and choose a trigger but the principle will remain the same whatever business tool you use in your company.
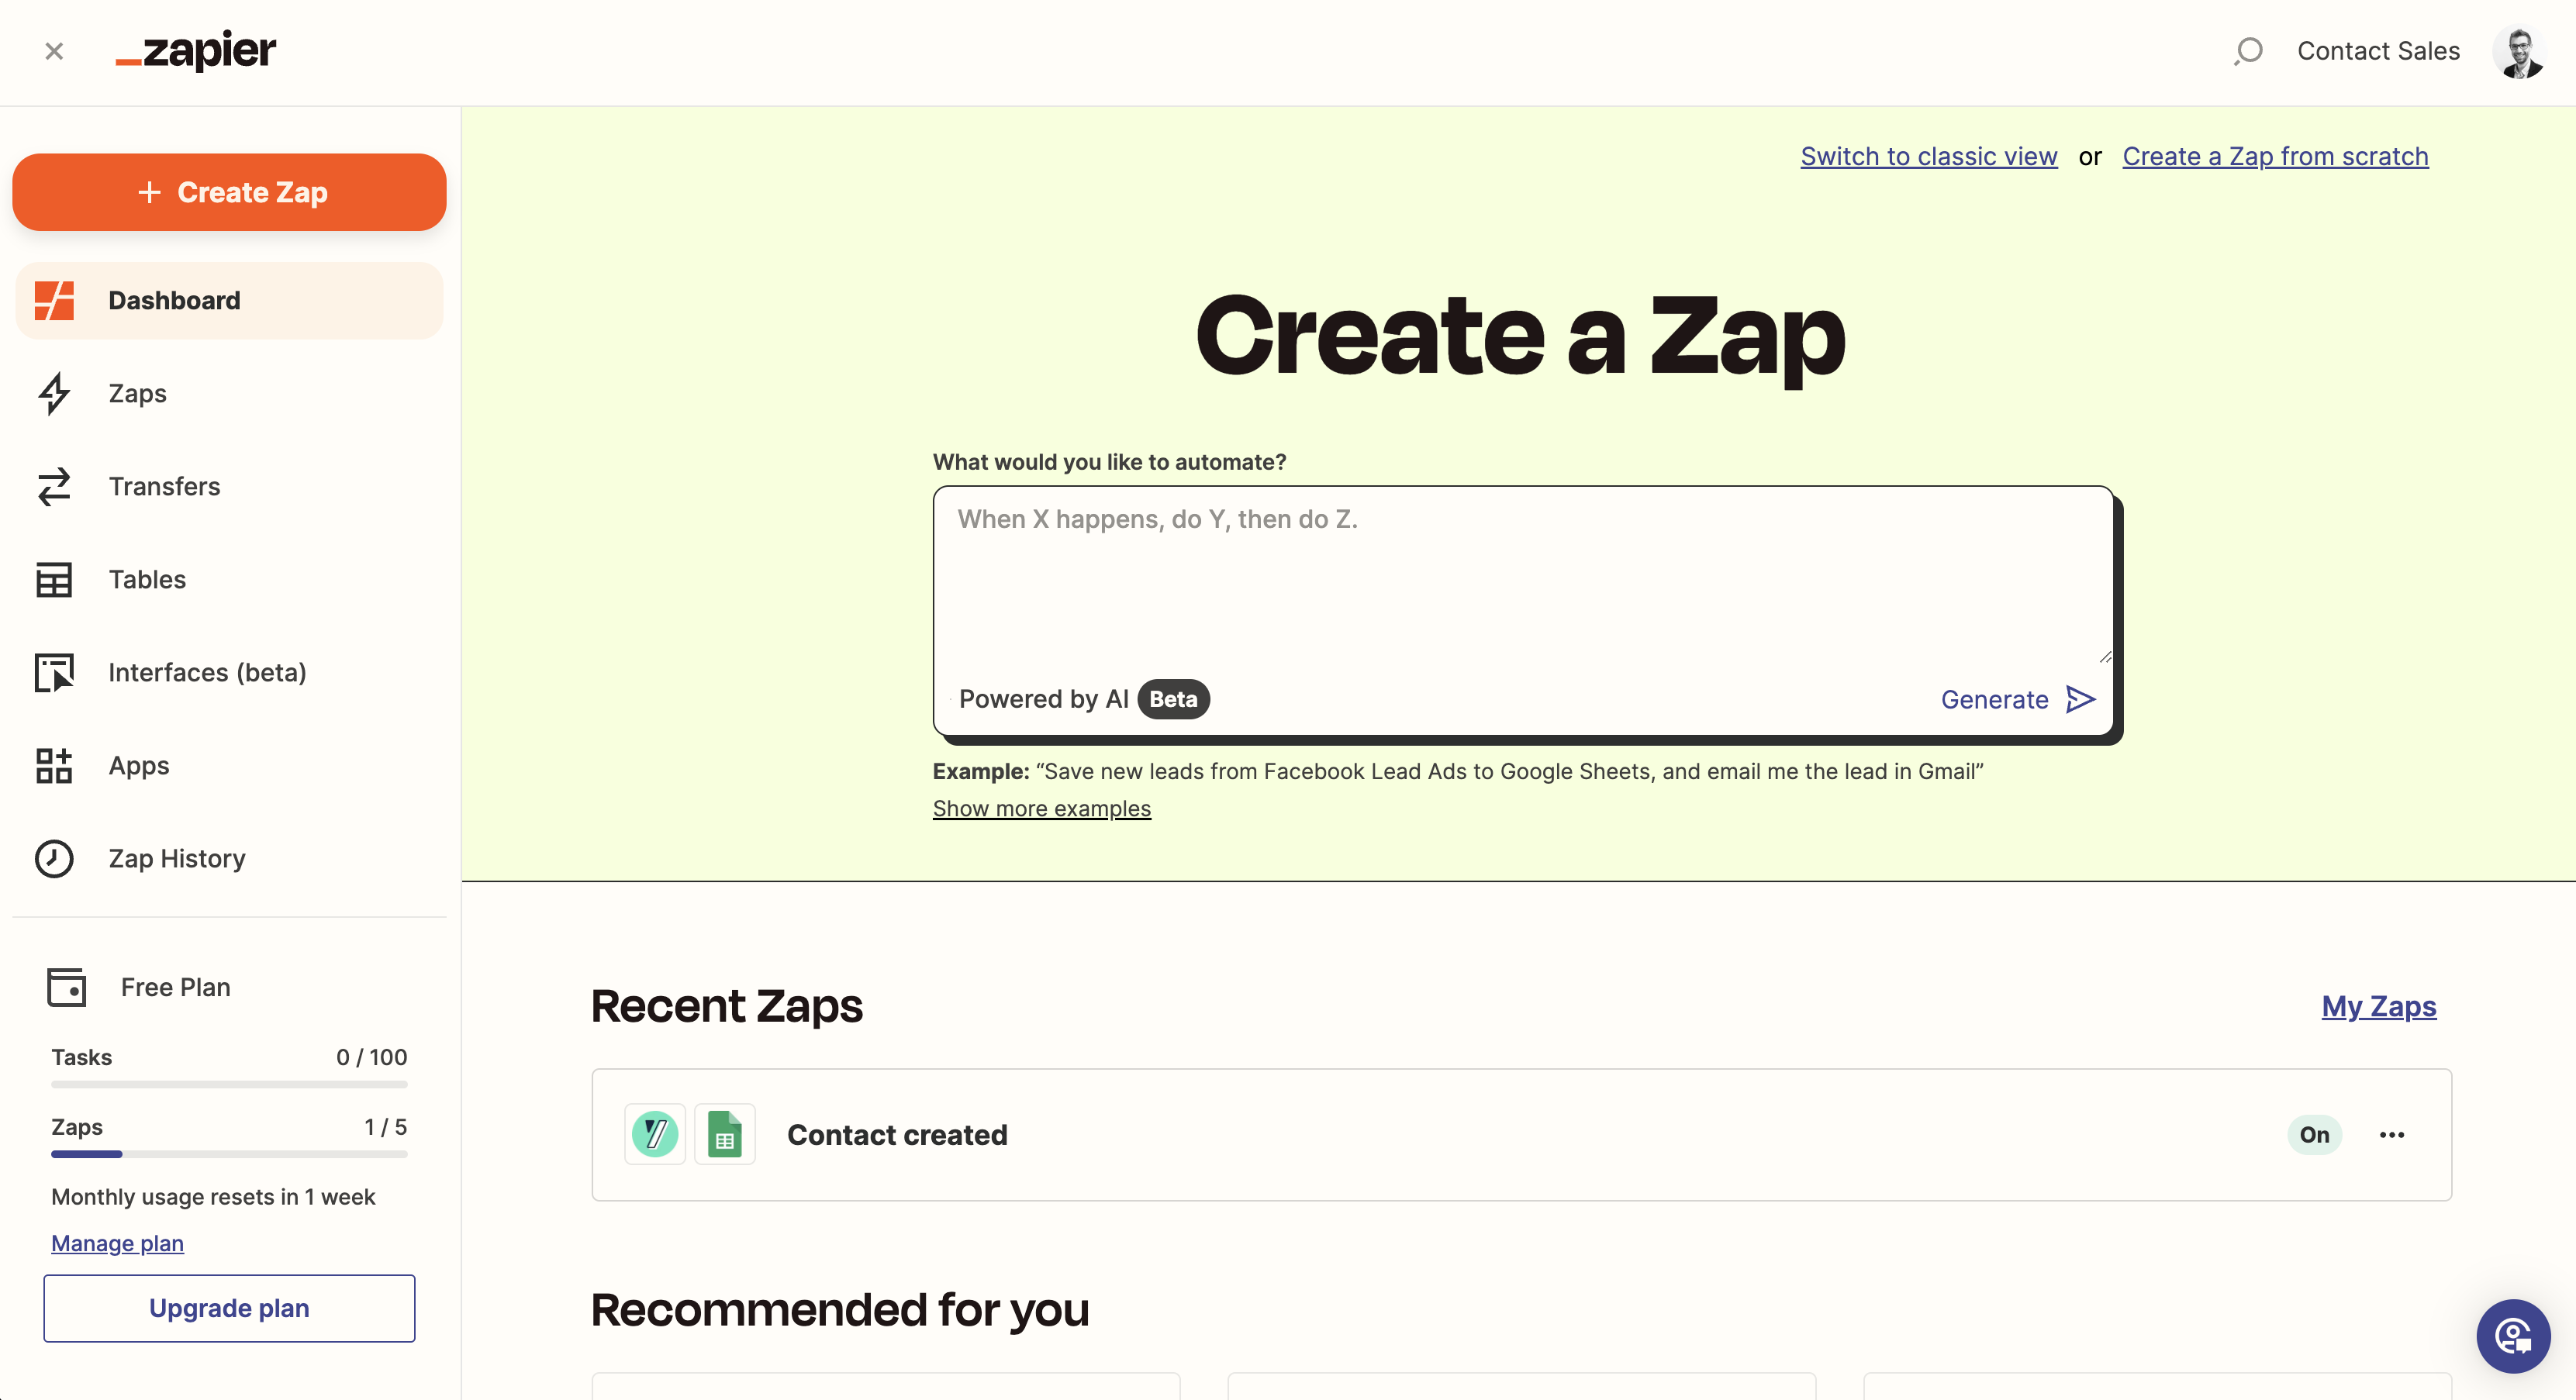
Once you've logged in, you'll be taken to the main page of Zapier:
Step 3.1 Create a Zap
Then simply click on the Create a Zap button:

This takes you to the screen where you can connect your tools. More specifically, the aim is to carry out actions using triggers:
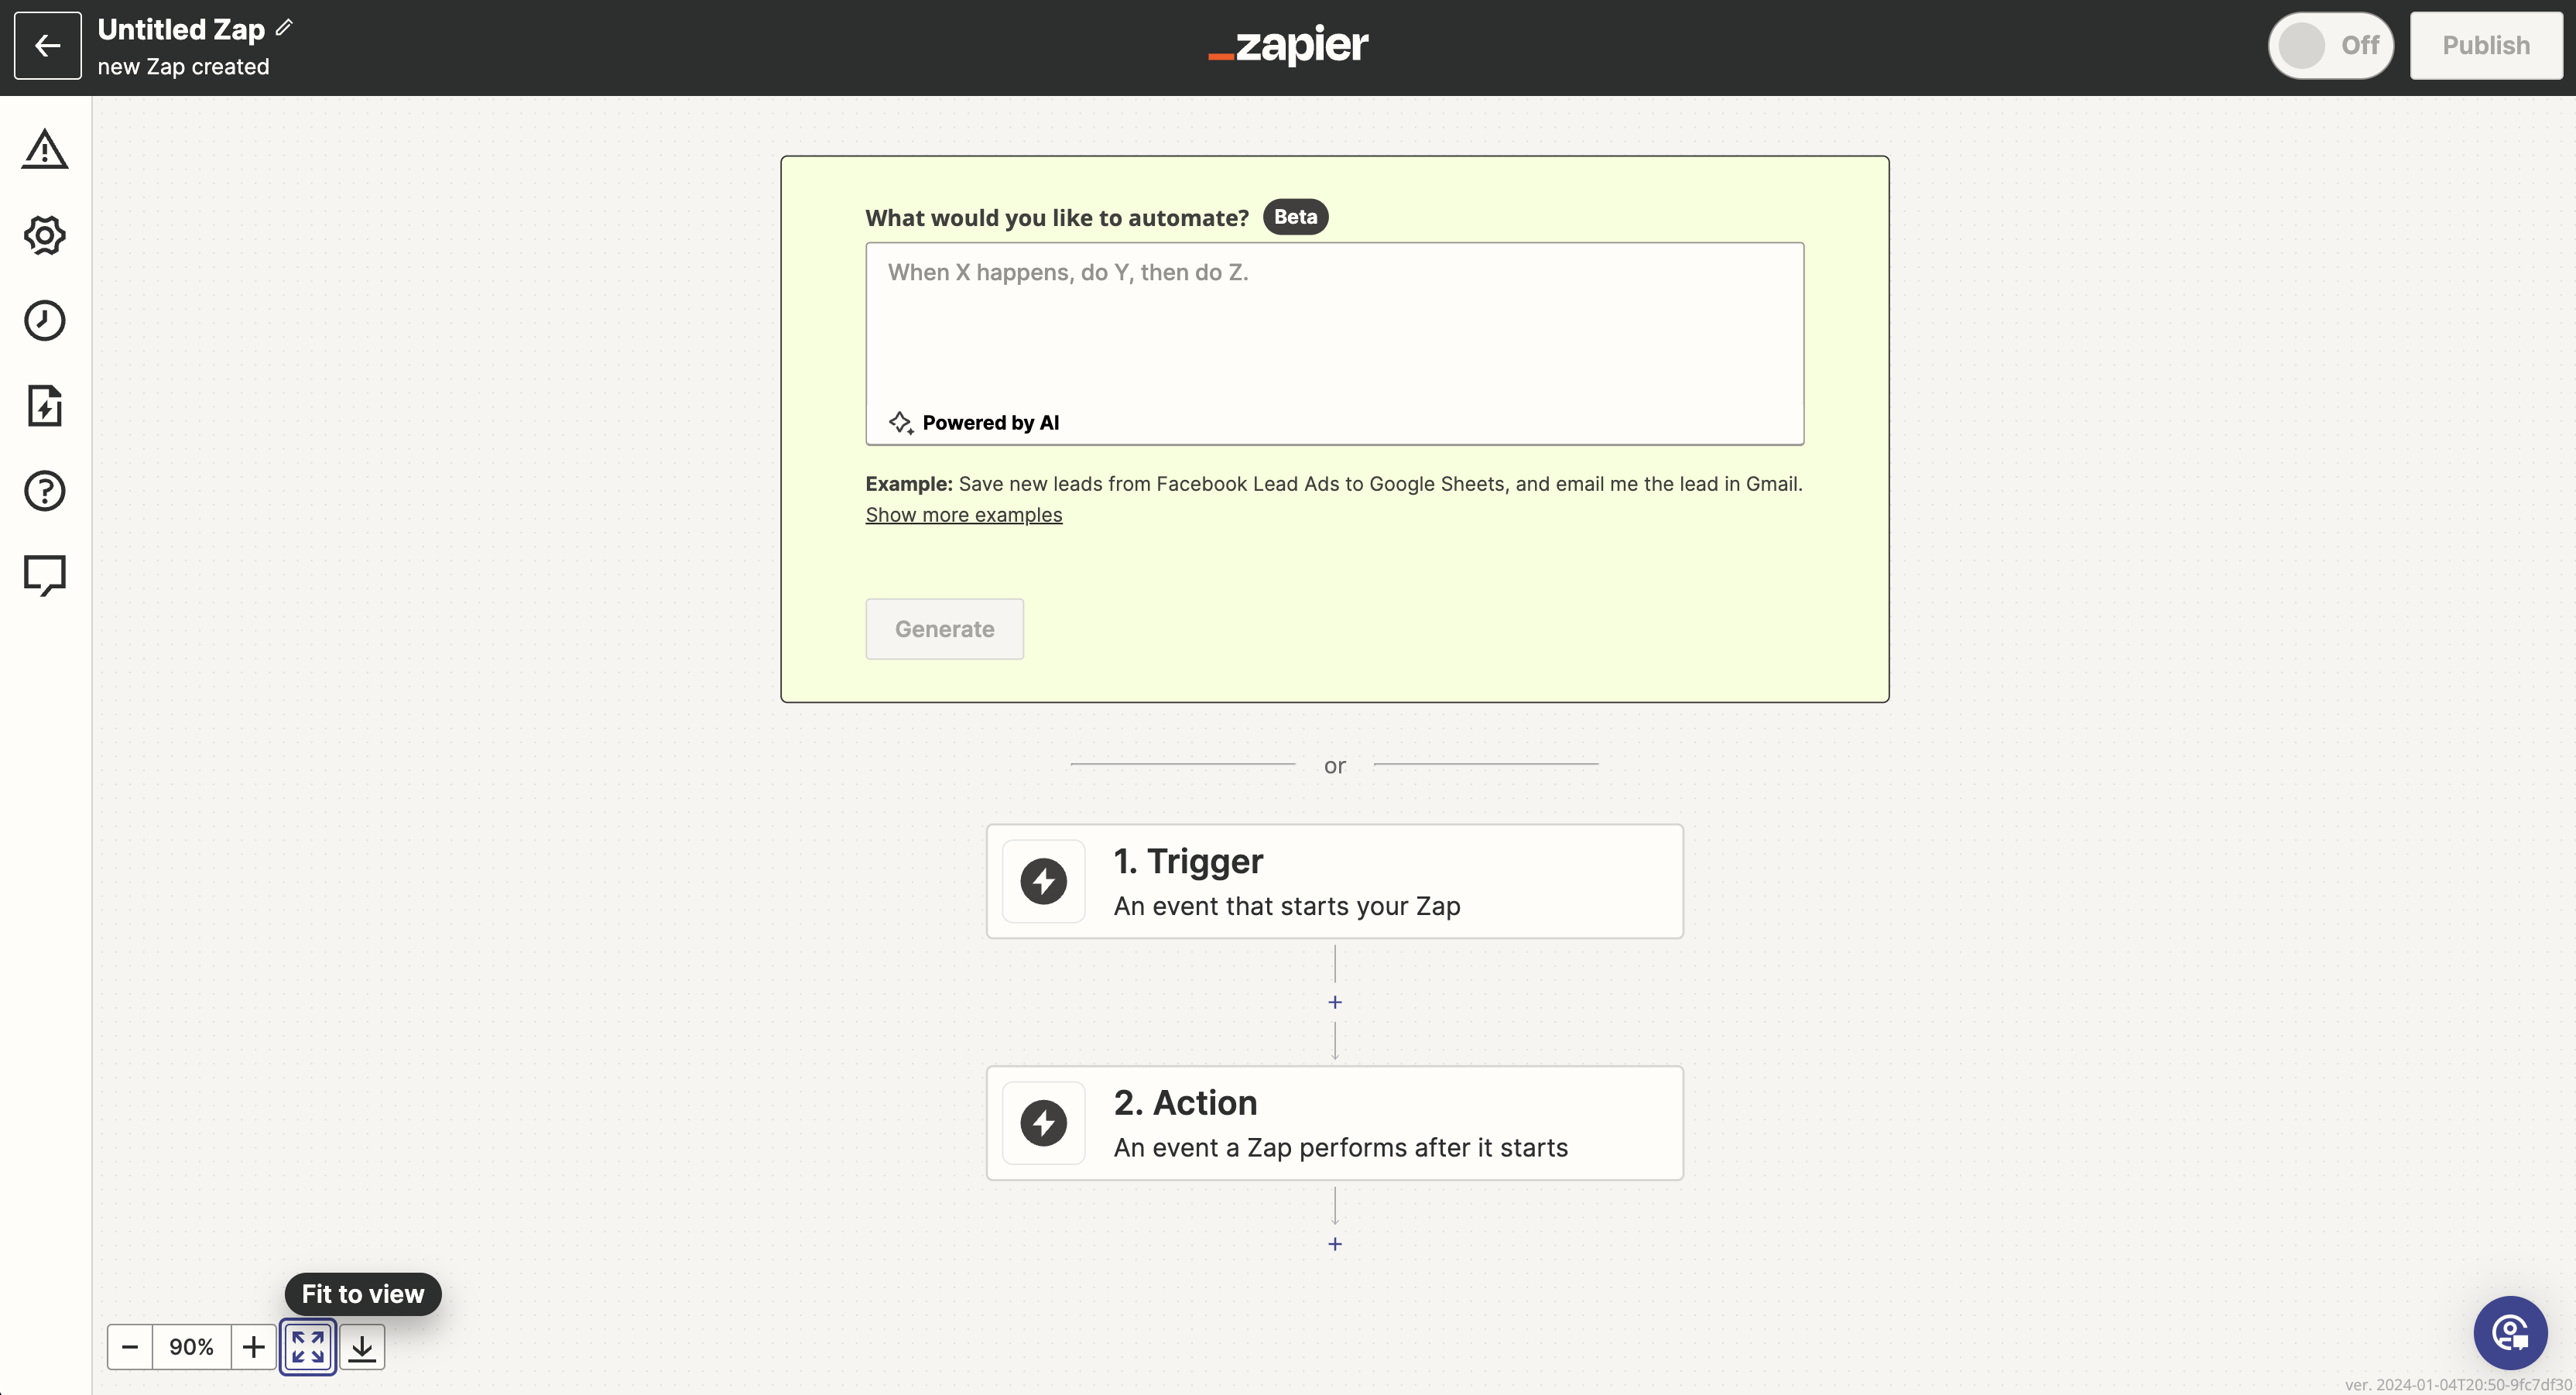
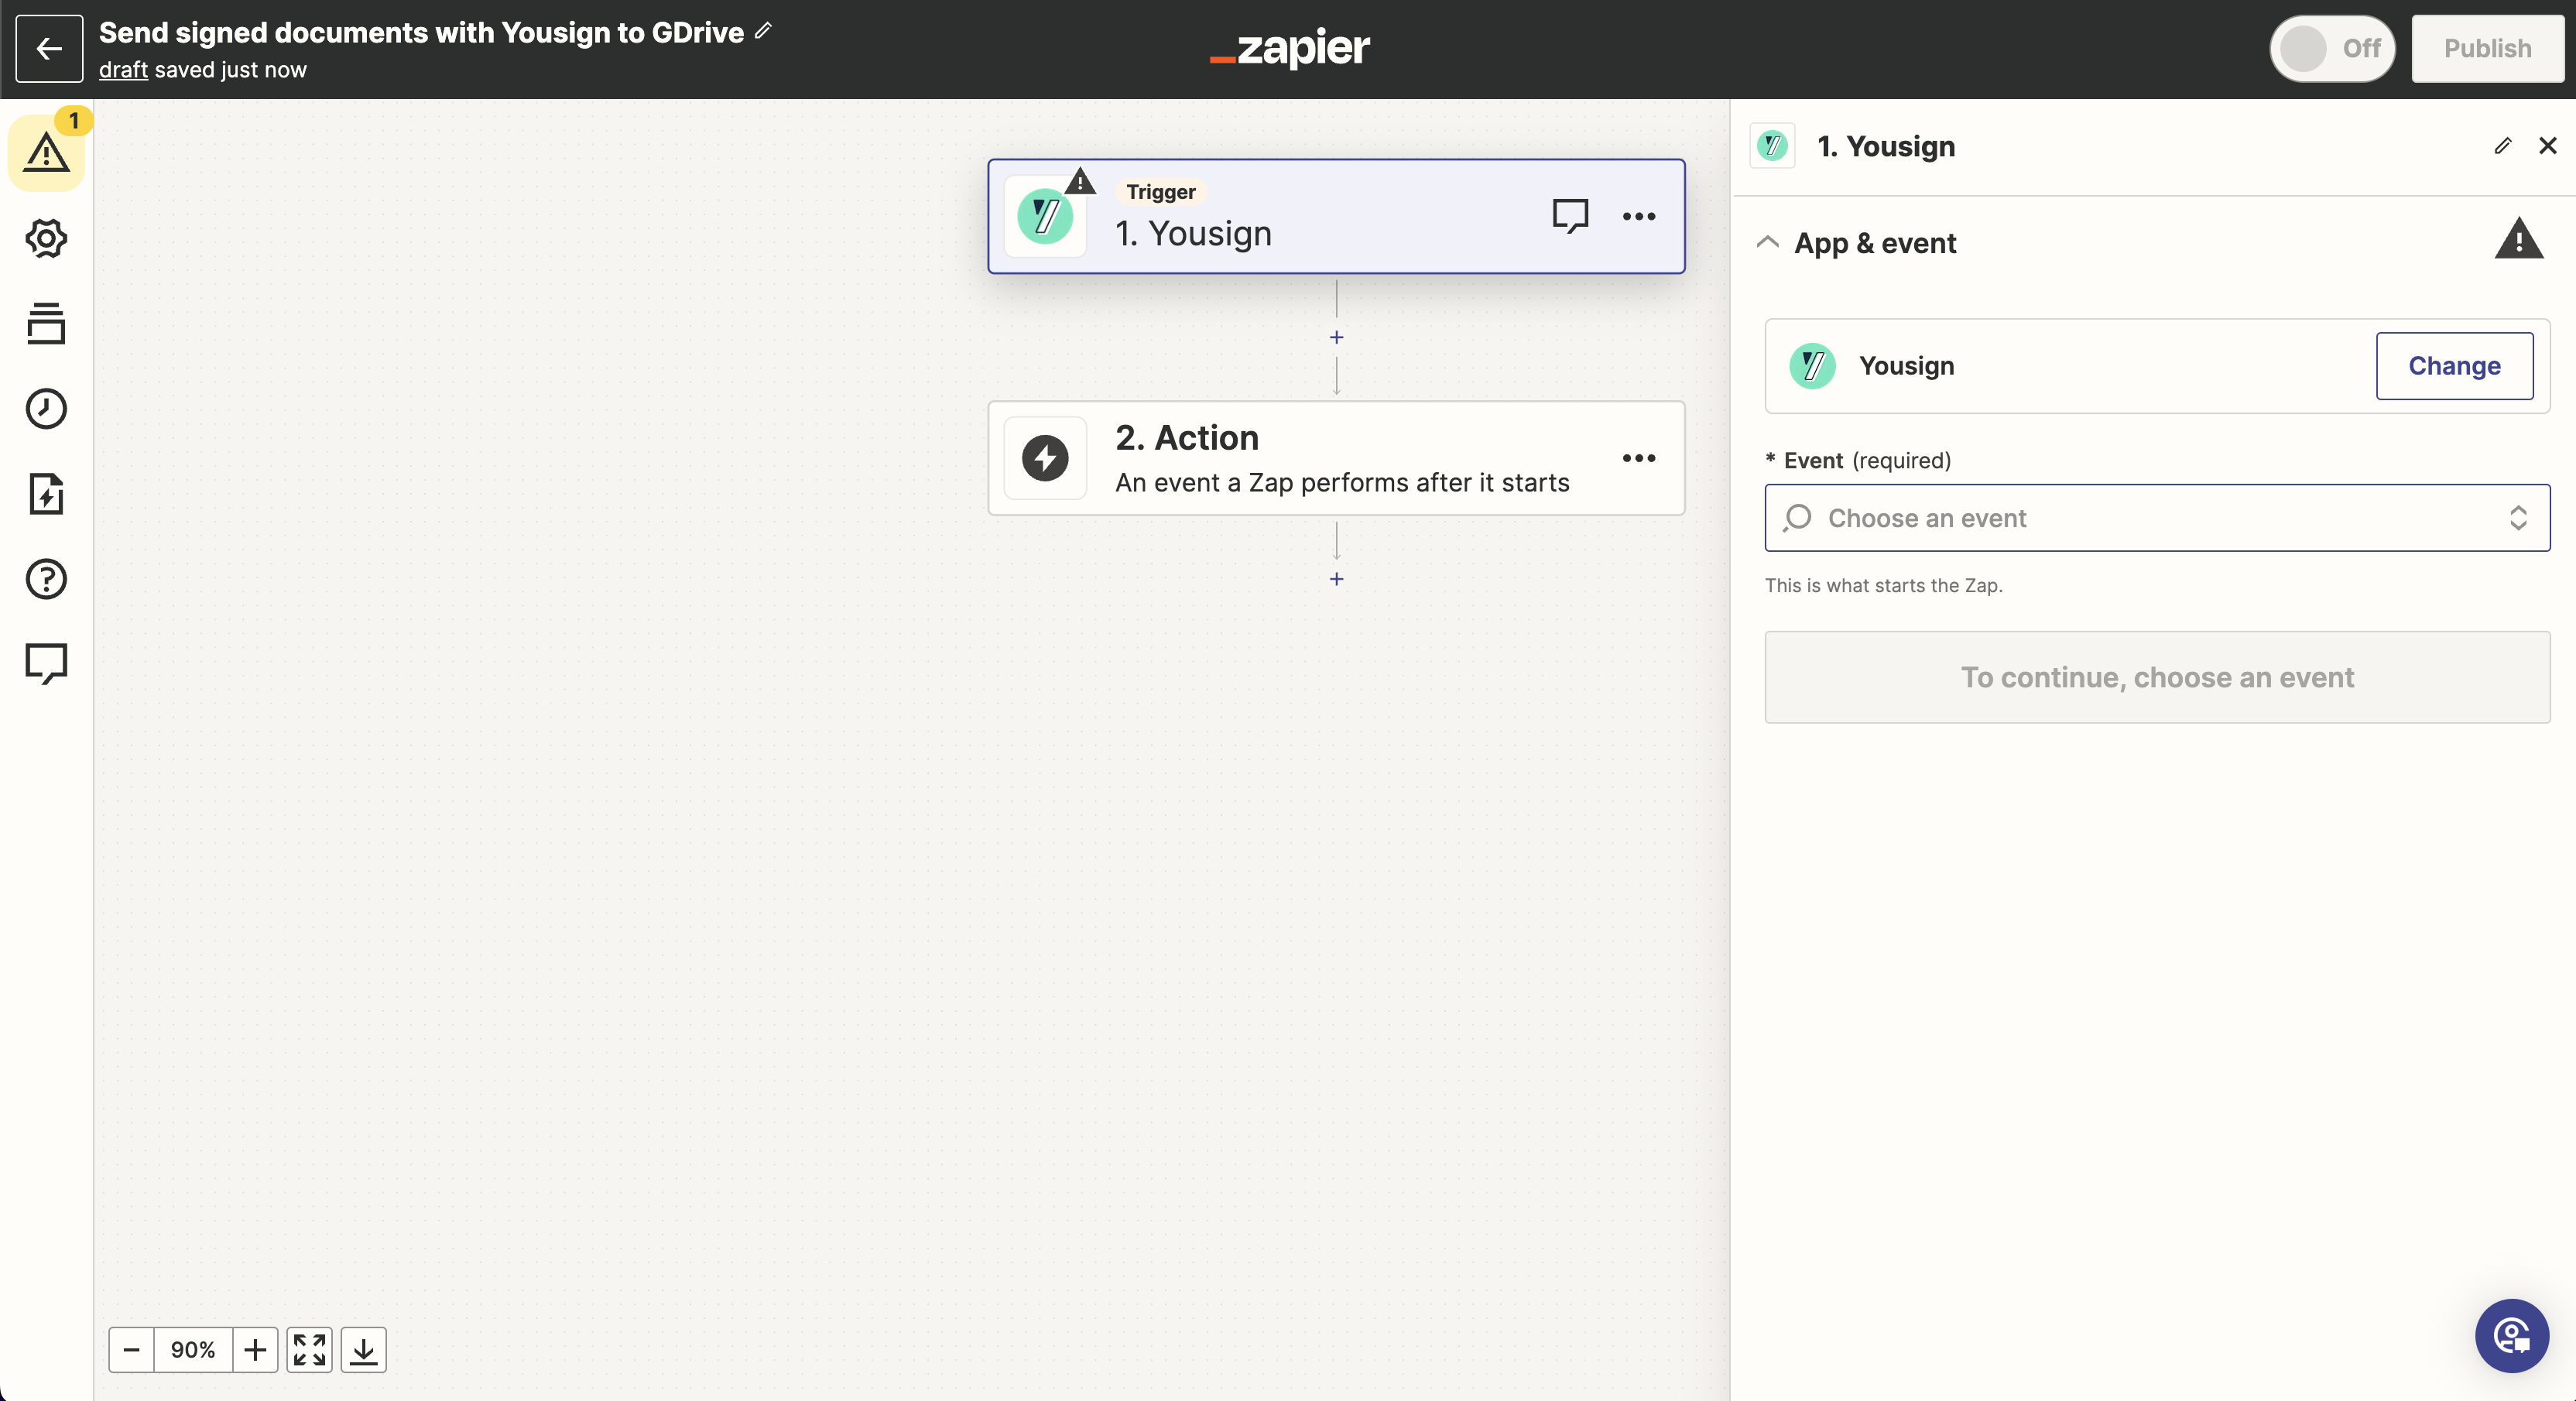
First of all, you can start by naming your Zap in the top left-hand corner of your screen. Let's say we want to automatically send our signed documents to Google Drive:

Step 3.2 Define Yousign as a Trigger
Then click on the first block, called Trigger, to connect Yousign:
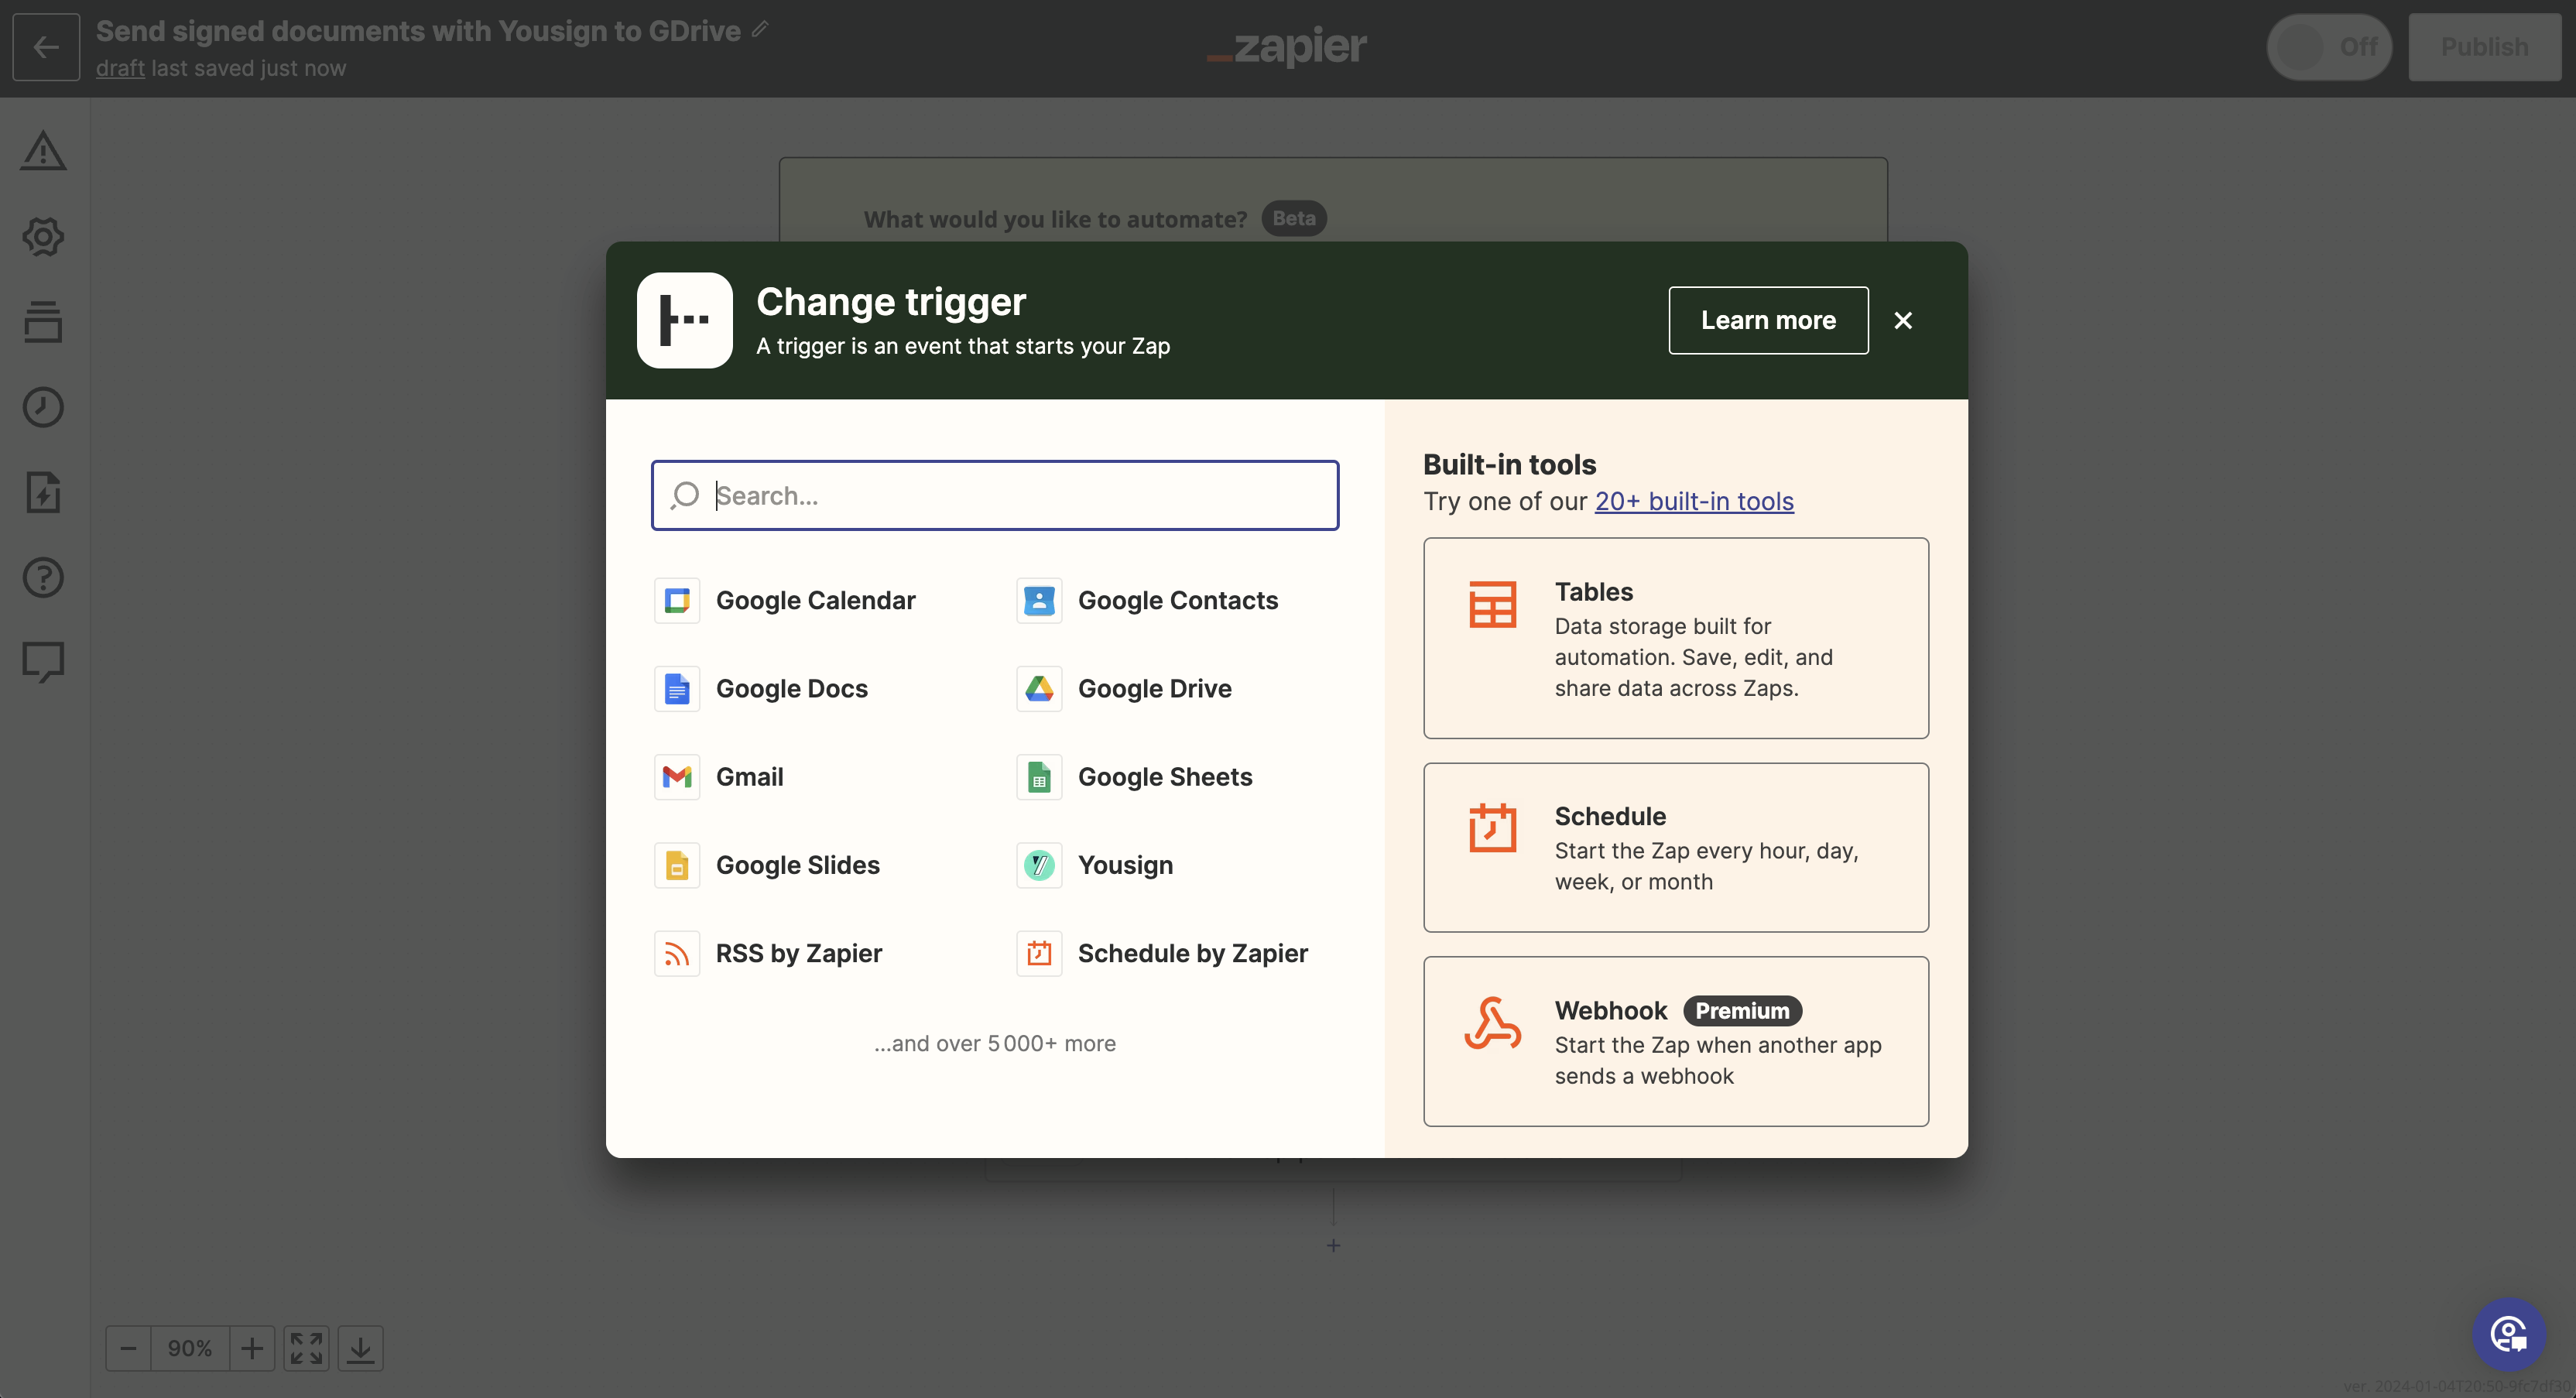
Once connected, Yousign will then automatically inform Zapier (using a Trigger) as soon as a document is signed on the platform. Click on Yousign (or search for it using the search bar):
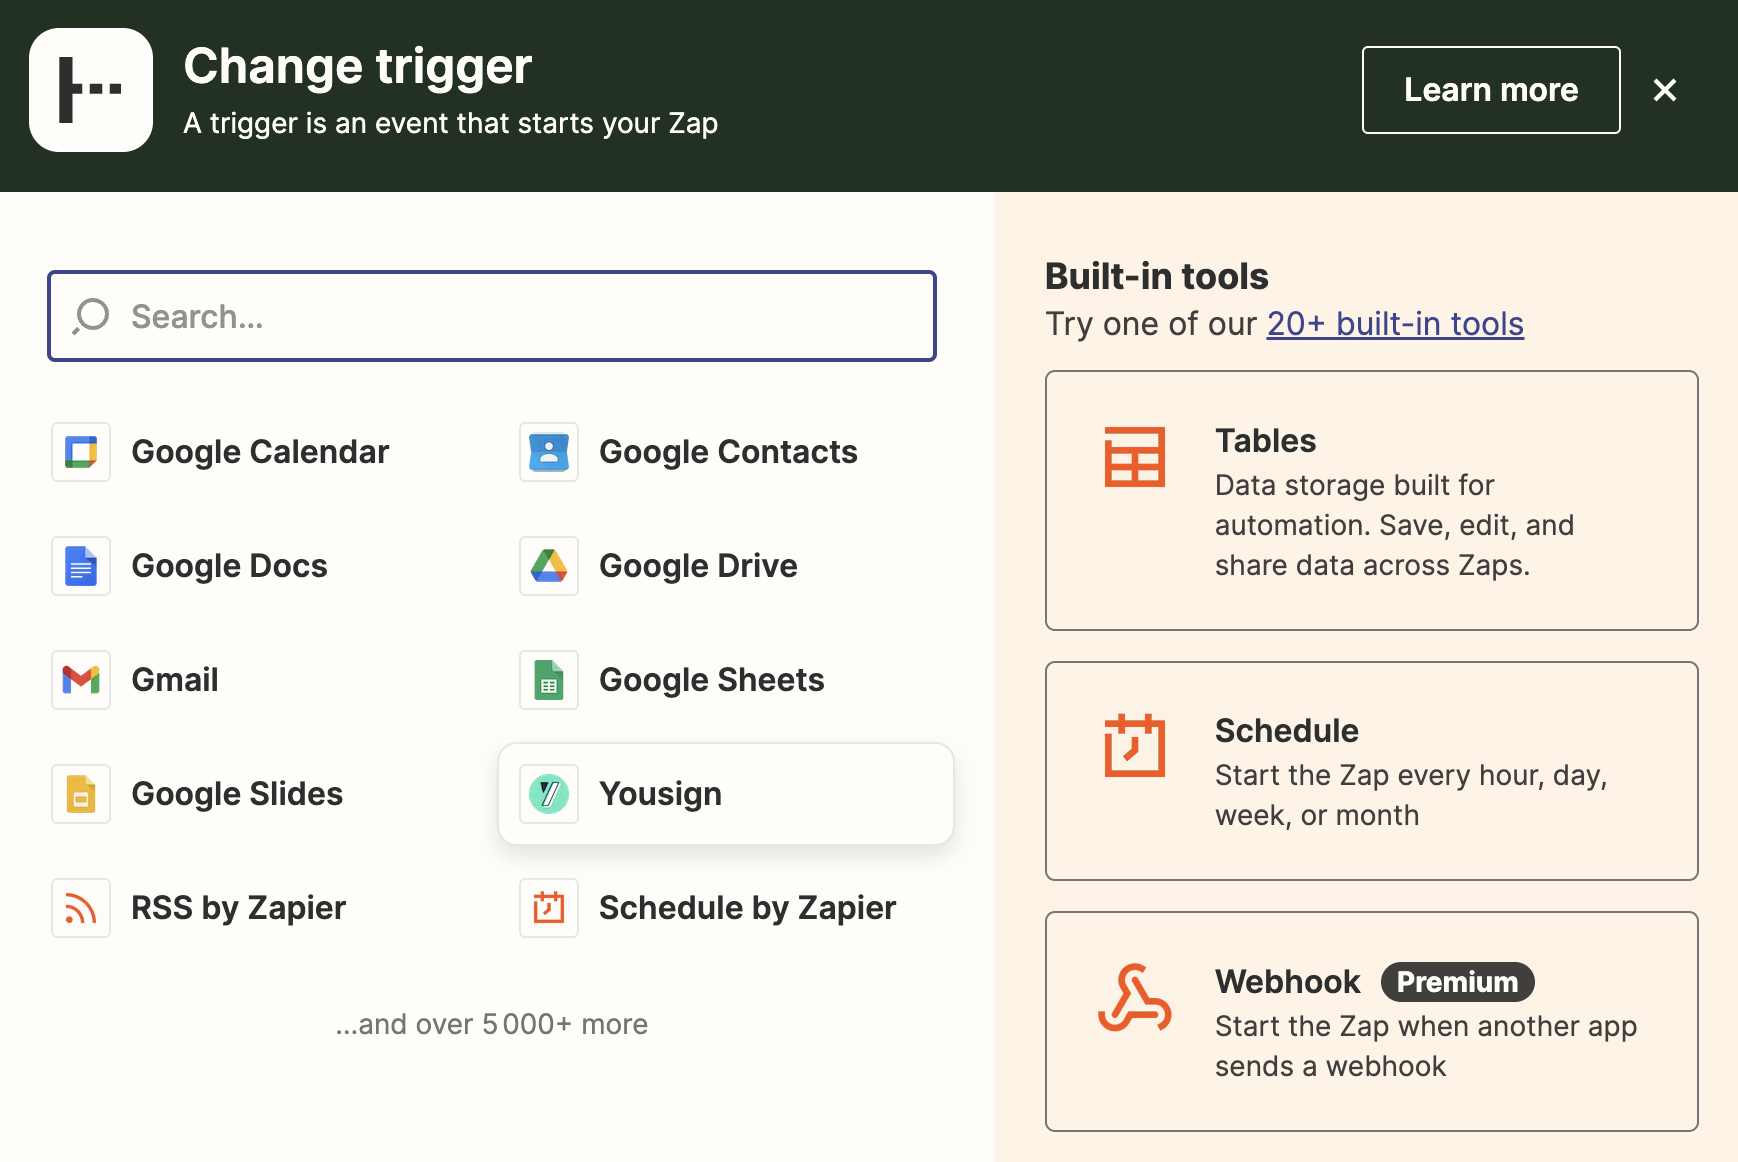
Step 3.3 Select the event type for Yousign
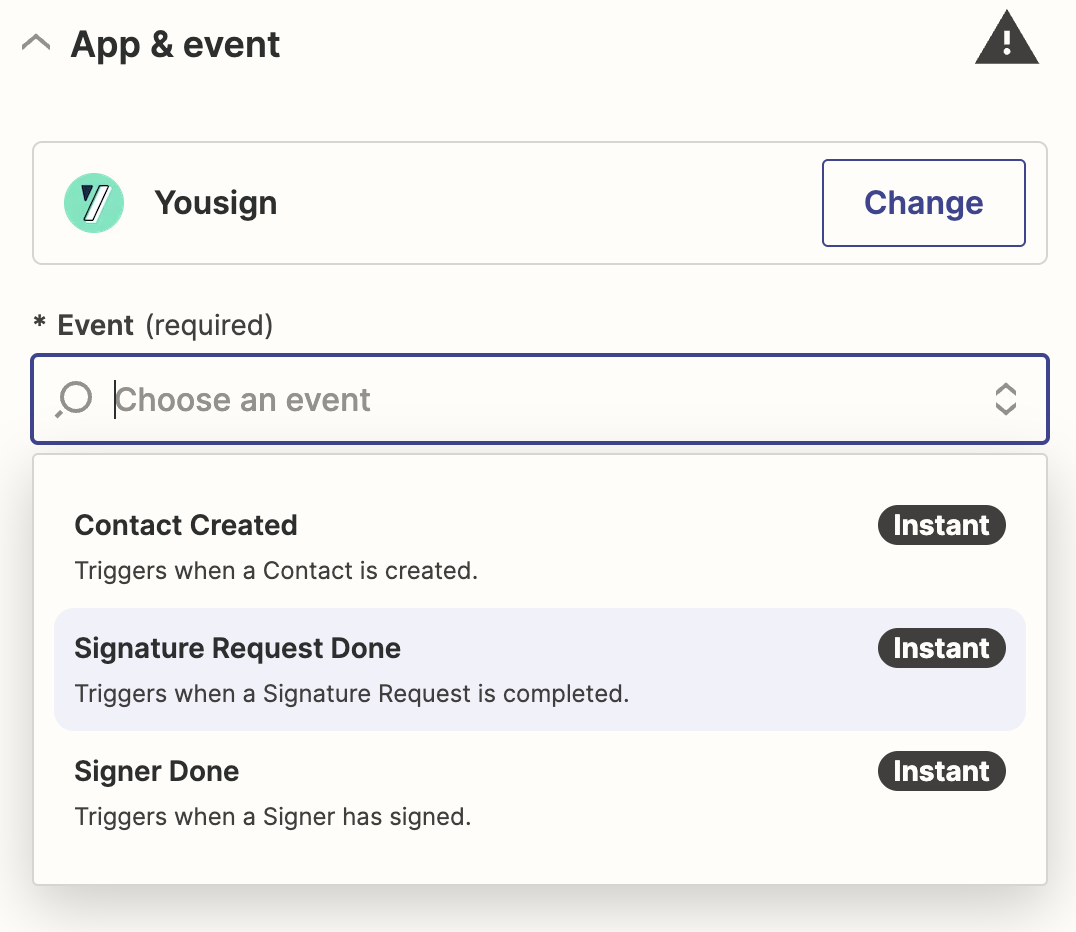
You can now select the type of Yousign trigger you want:
In our case it is the complete signature of a document:
Step 3.4 Connect your Yousign account to Zapier
Once selected, click on the “Continue” button to connect to your Yousign account:
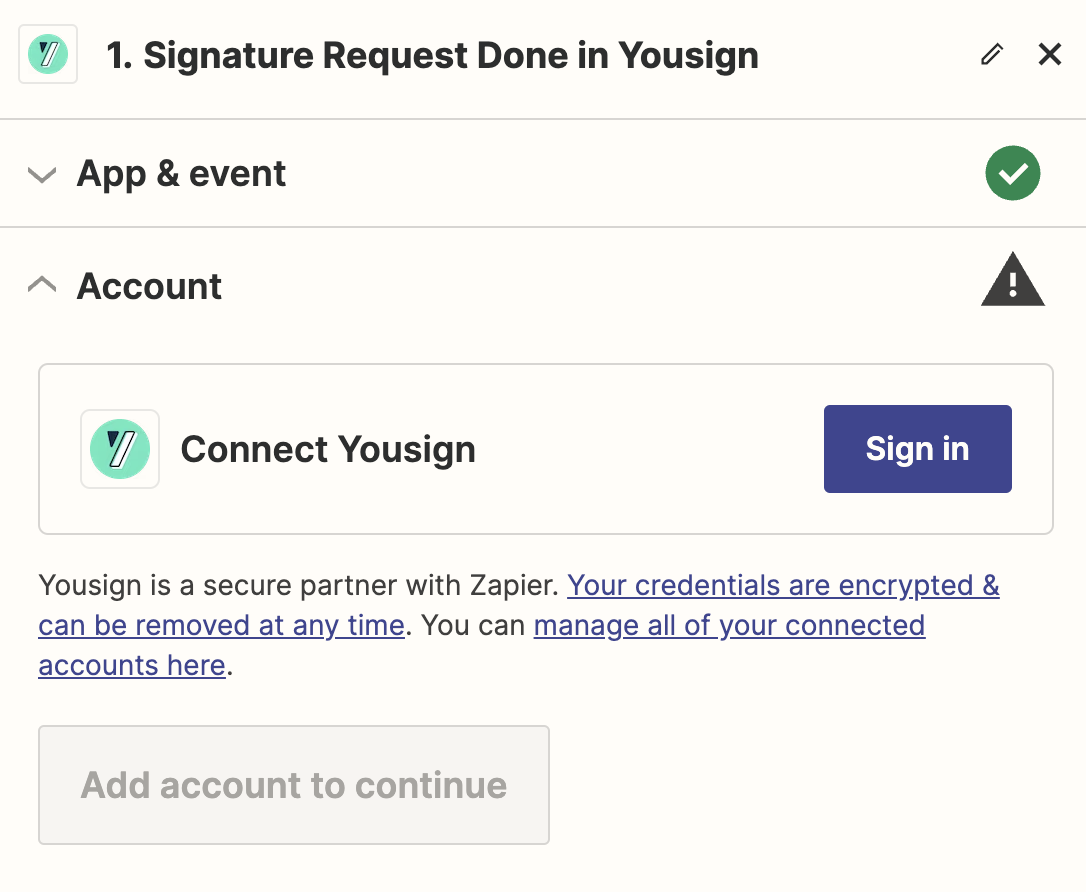
Security & privacyPlease note that, as mentioned by Zapier, the connection between Yousign and Zapier is secure, so your data is protected. You can access the various resources provided by Zapier for more information.
Then click on the “Sign in” button to fill in your Yousign account details:
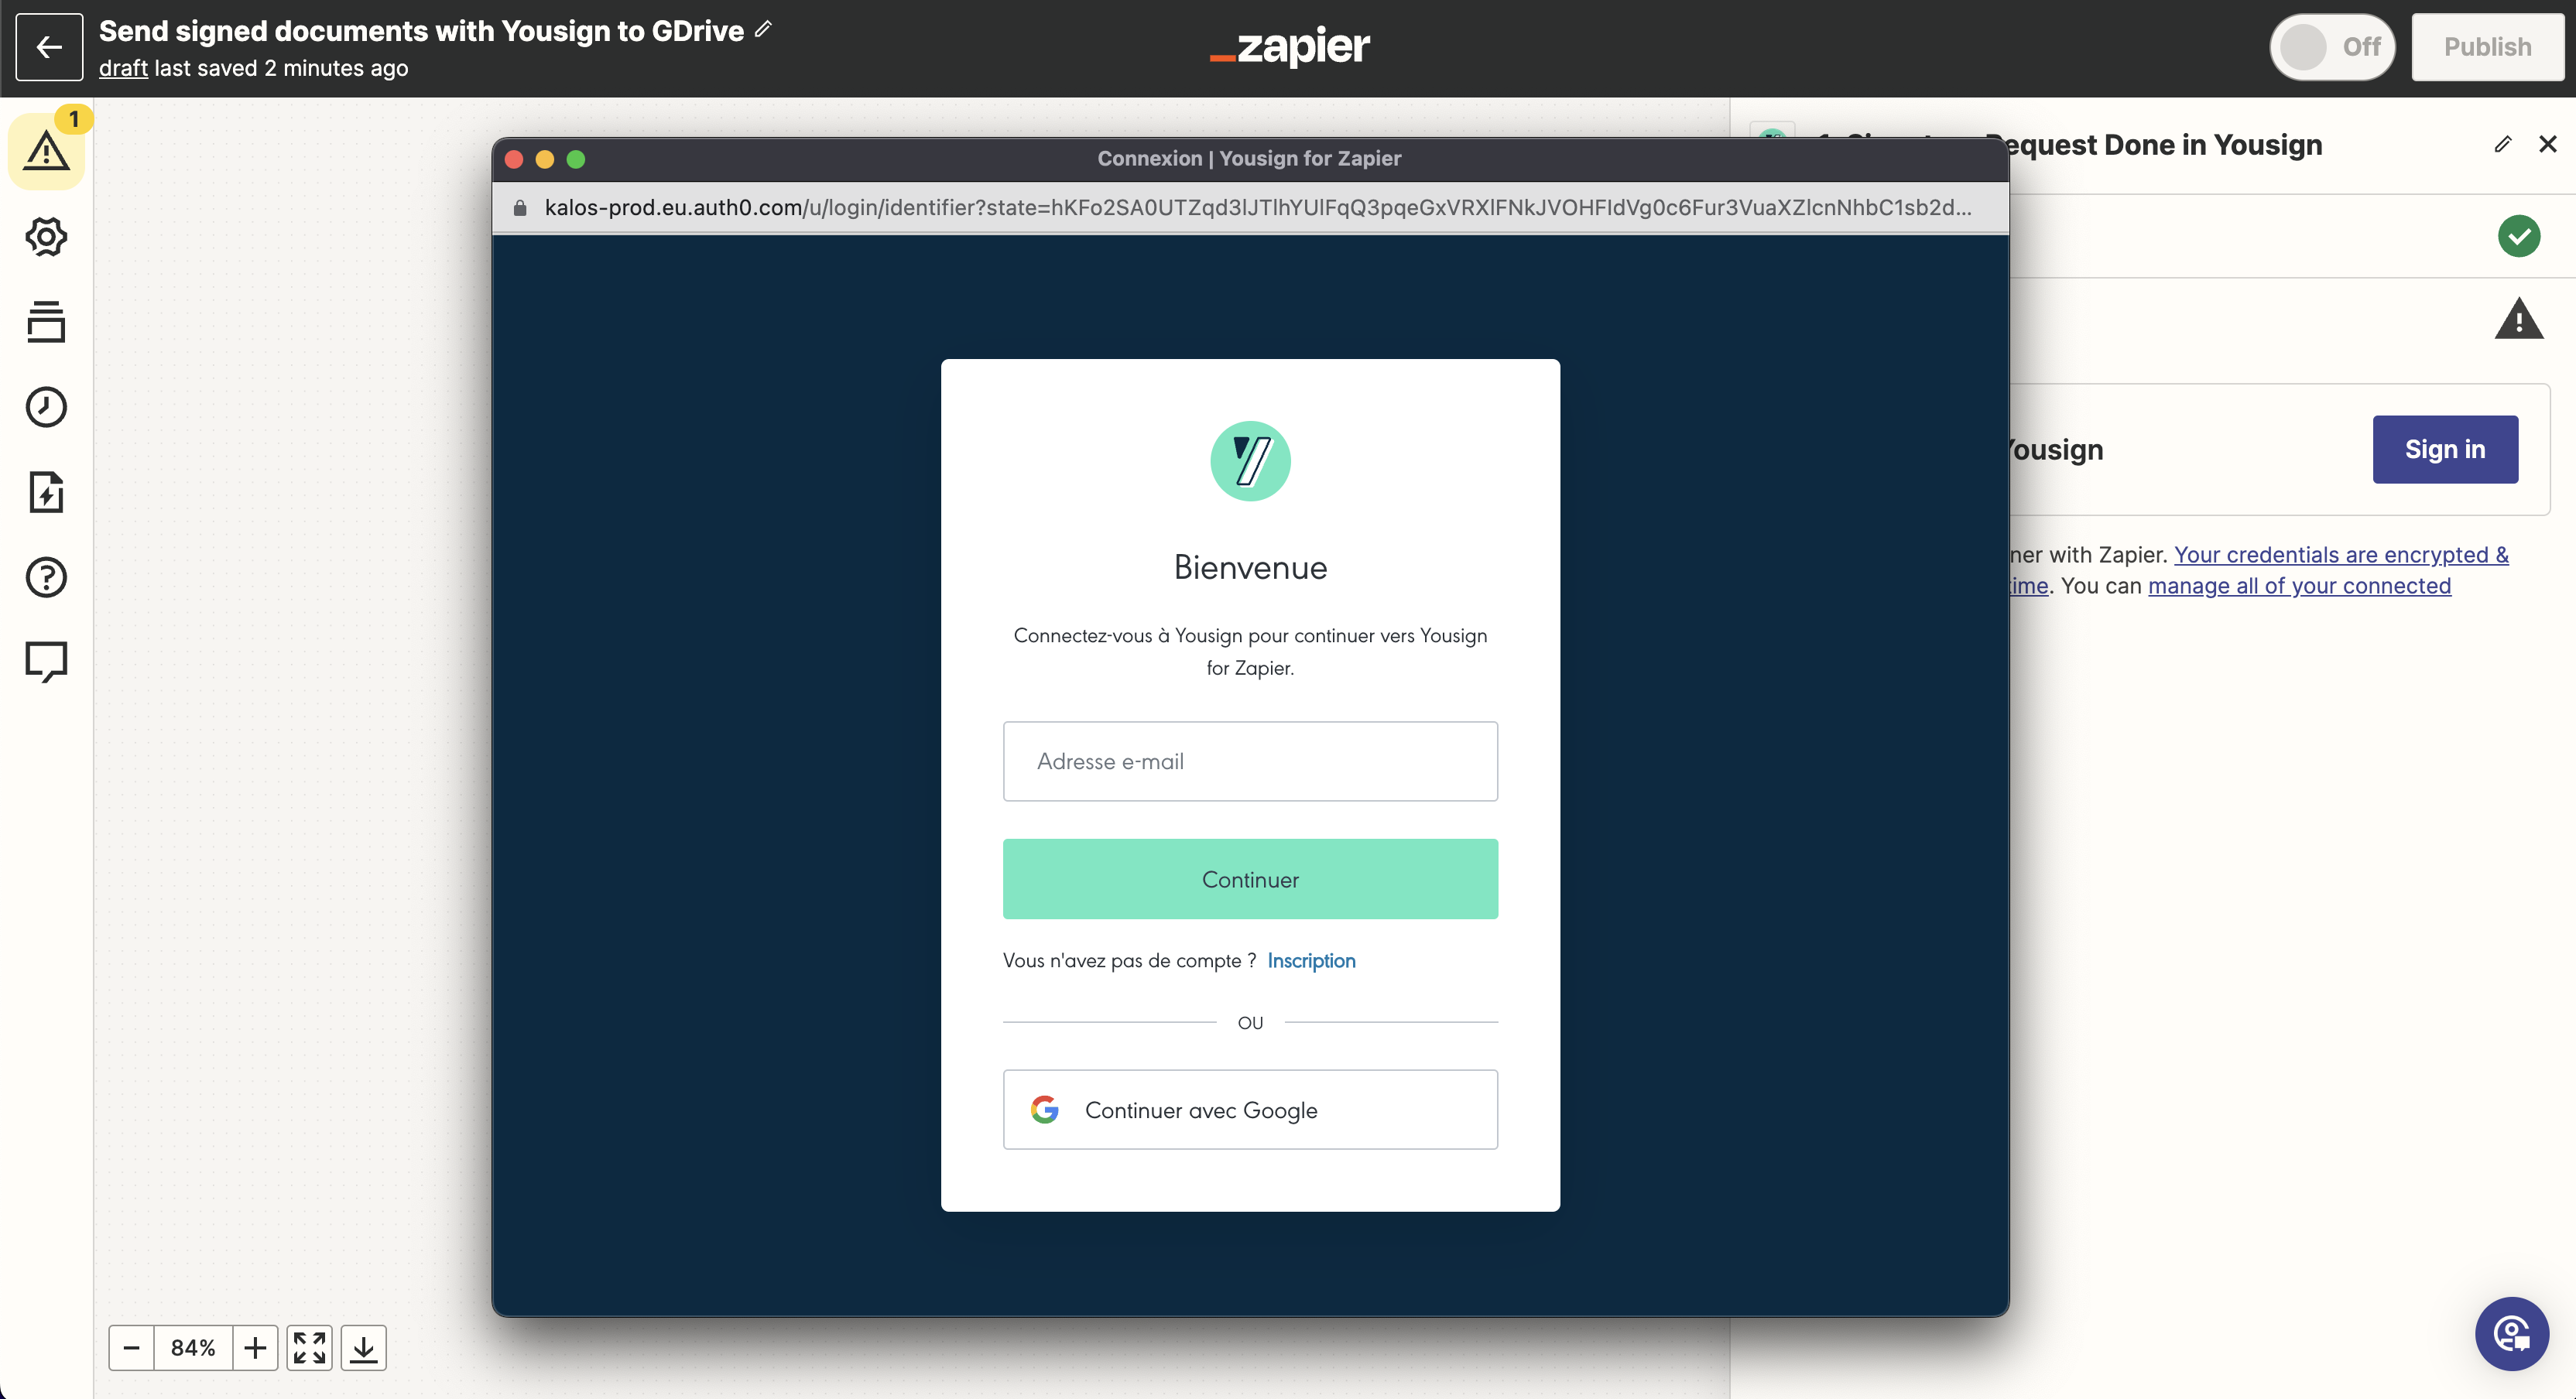
Once you have entered your Yousign account details, you can click on the “Continue” button. Congratulations, your Yousign account is now connected to Zapier.
Step 3.5 Set up your trigger
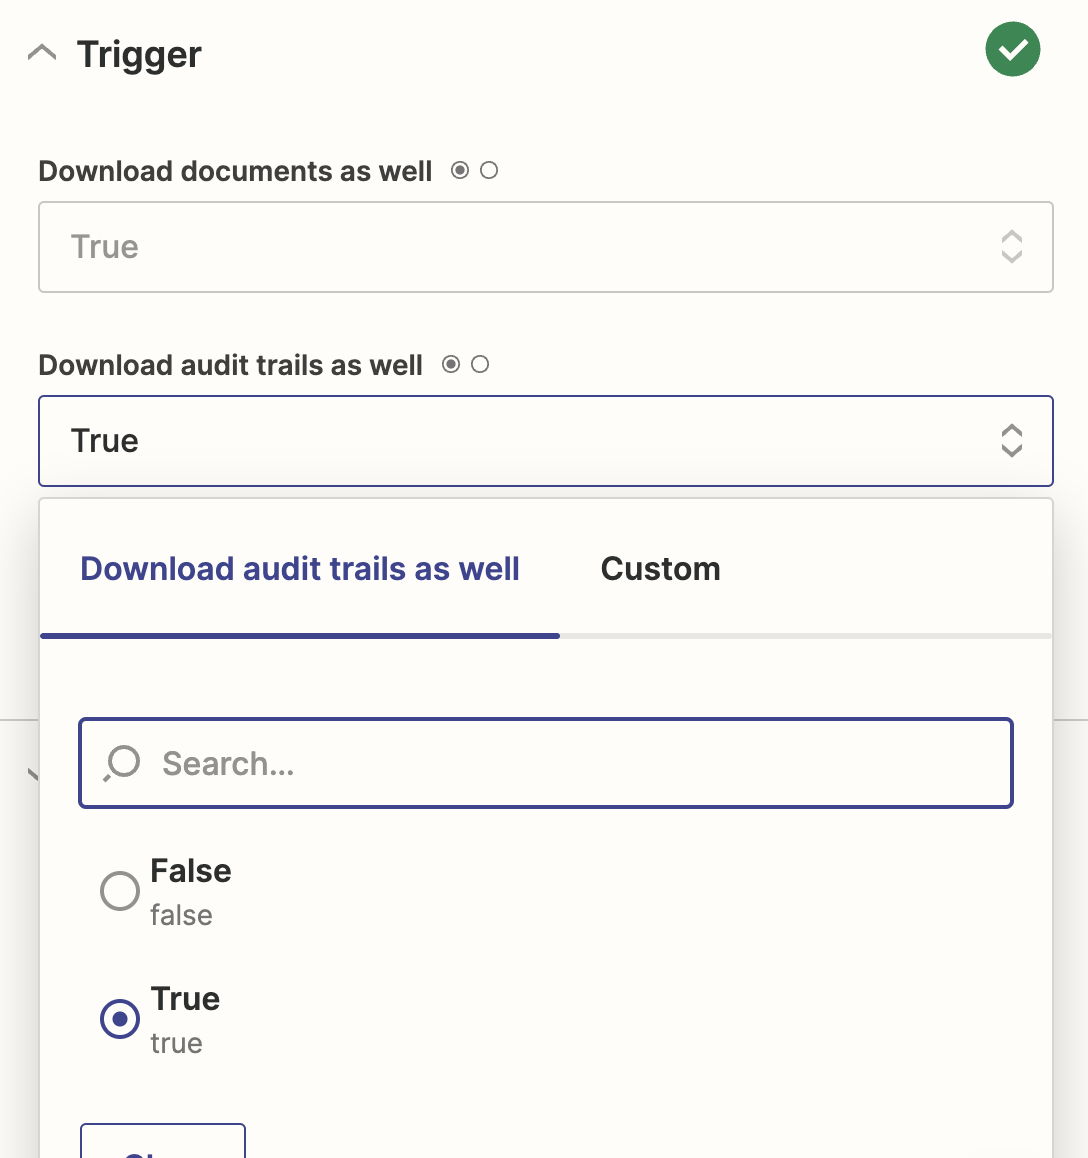
Next, you can customise your Trigger by choosing which type of file you want to send: your PDF documents and/or your audit trail:
Step 3.5 Test your trigger
Finally, the last step is to test your Trigger to make sure that everything is working perfectly:
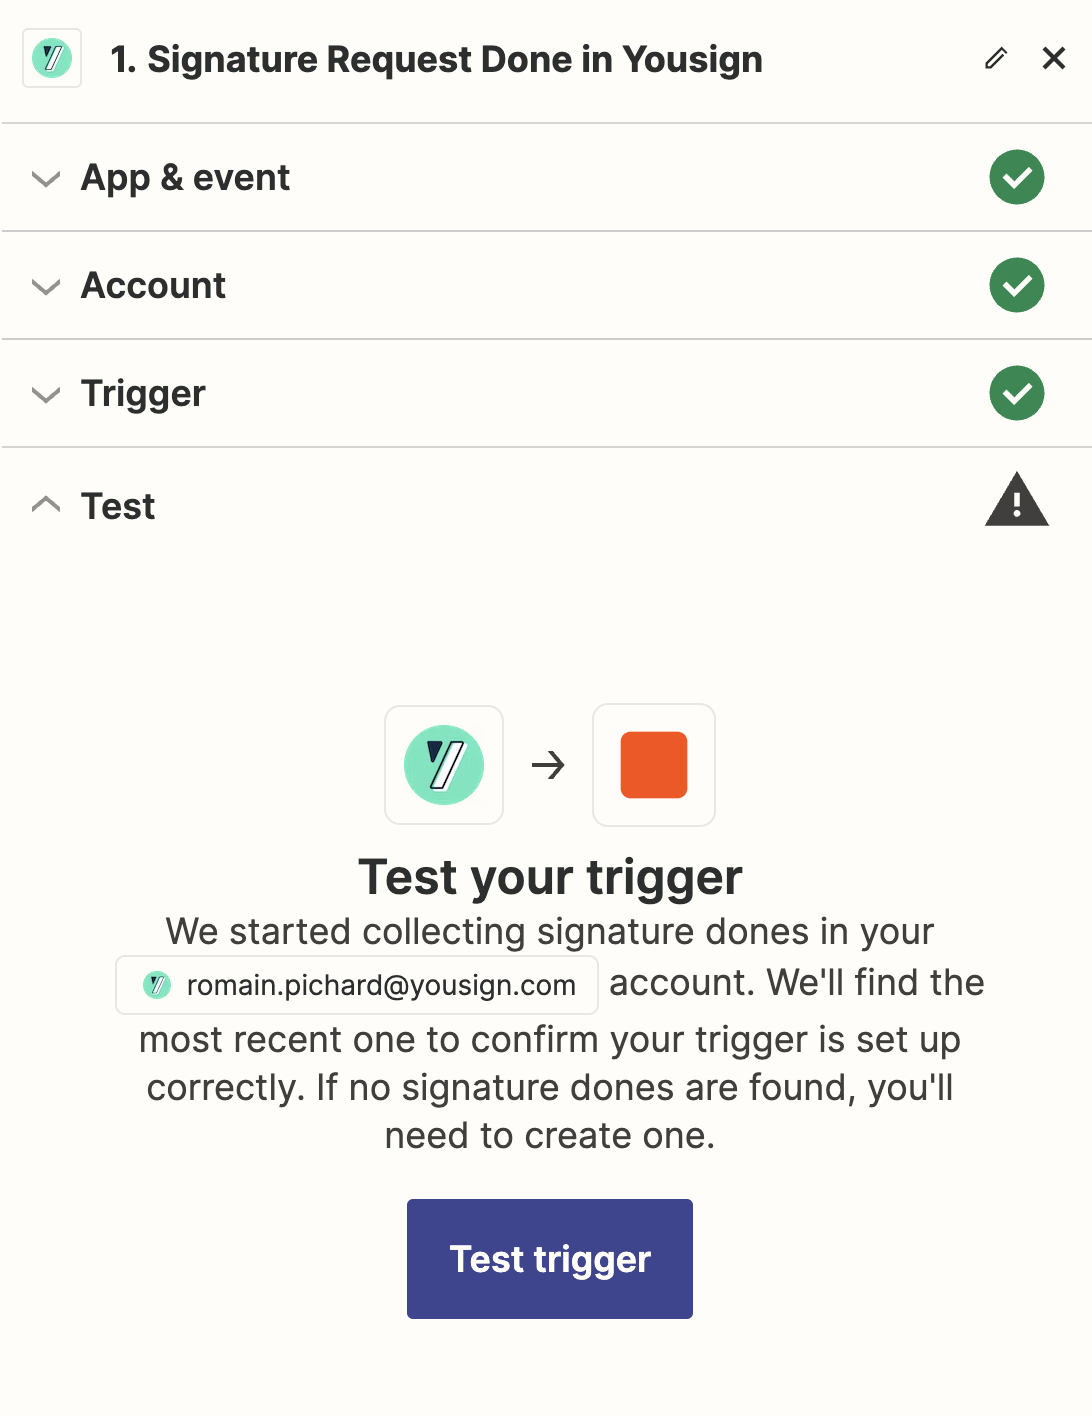
Clicking on the "Test trigger" button produces a success message confirming that everything is OK:

🎉 Congratulations, you've just created your Yousign Trigger. You can now repeat this operation for the Action to be carried out in your everyday tool.
In our example, all you have to do is select Google Drive as the tool performing the Action and connect Zapier to your Google account.
Updated 4 months ago
Find out about other resources for getting the most out of your automation with Zapier.